It’s no secret that they don’t make furniture the way they used to, and if you want quality pieces, you’re going to have to be willing to spend a small fortune to get them.
In my twenties I hardly had two dimes to rub together, let alone a small fortune, so I took up refinishing furniture. It started when one of my closest friends was cleaning out his grandmother’s home and didn’t have any use for her bedroom set: a pale, worn out, but solid, mid-century set. The mid-century look had not yet fully made a comeback, but I was still a fan of the set and chose to take the dresser and chest home to my basement apartment where I spent the next month sanding, staining and finishing the pieces. They turned out beautifully! In fact, almost two decades later, they are now being used by my oldest son in his bedroom.
The great thing is, if you can give yourself a decent manicure, you already have the skills to redo a piece of furniture. Think about it: Filing your nails is quite similar to sanding, and painting your nails is quite similar to painting a piece of wood. When you paint your nails, you have to use thin coats; the same goes for painting furniture! You have to let each coat fully dry…Same with furniture! You have to “stay within the lines”…With furniture, it’s the same deal.
Once you accept that re-doing a piece of furniture is just like doing your nails, albeit on a much larger scale, your fear disappears and you’re ready to get to work.
I have been working on furniture/home repair projects for over 20 years. In that time I have sanded and either stained or painted many pieces including: two bedroom sets, two accent tables, a dining room set, a china closet, two buffets, two vintage corner cabinets, three night stands, two wooden storm doors, a garage door, window shutters and a staircase. I recently completed painting my kitchen cabinets, which are original to the 1960s home my husband and I purchased about six years ago. I have also re-upholstered a sofa, chairs, an ottoman, and tiled the back splash in the kitchen of my first home.
I will admit: It’s A LOT of work. It’s not necessarily difficult, but it is time consuming, and you have to have a lot of patience (which I lack, so if I can do these projects, anyone can!). Any evidence of rushing definitely comes through in the final result. But, if you work slowly and methodically, the end result is SO worth it! The pieces I have in my house that I have re-done are my absolute favorites and are always on the receiving end of compliments when guests see them. They are often older pieces with a lot of character, which makes them unique to begin with, but once I get my hands on them they really become something special. Another benefit: I usually pay very little for them, as they are not in great condition when I buy them (usually through Craigslist). And let’s not forget that reusing an item is a plus for our planet.
Though I’m often told I have a talent for working with furniture, I’m not so sure I agree. I think it has more to do with interest and determination. If your heart’s in it, the project will turn out great!
Doing these projects over the years, I’ve learned a few things about the process, which I’ll share with you. My biggest piece of advice is not to be intimidated by the task. It’s not brain surgery, so no one’s life depends on the outcome. With that in mind, here are my tips:
Don’t be cheap! Invest in good paint and quality brushes. The look of your finished piece is not just about your effort, but the quality of the products you use.
Recommended products:
- Fine Paints of Europe Paints and brushes.
- Benjamin Moore ADVANCE interior paint.
- Behr Rustic Wood Stains
- Varathane and Minwax Stains and Polyurethane
- Rustoleum Spray Paints
Below, I’ve posted some pictures of a few of my projects. I have included information on the products used for each project below.
If you have any questions, feel free to contact me on the contact page.
Enjoy, and best of luck on your next project!
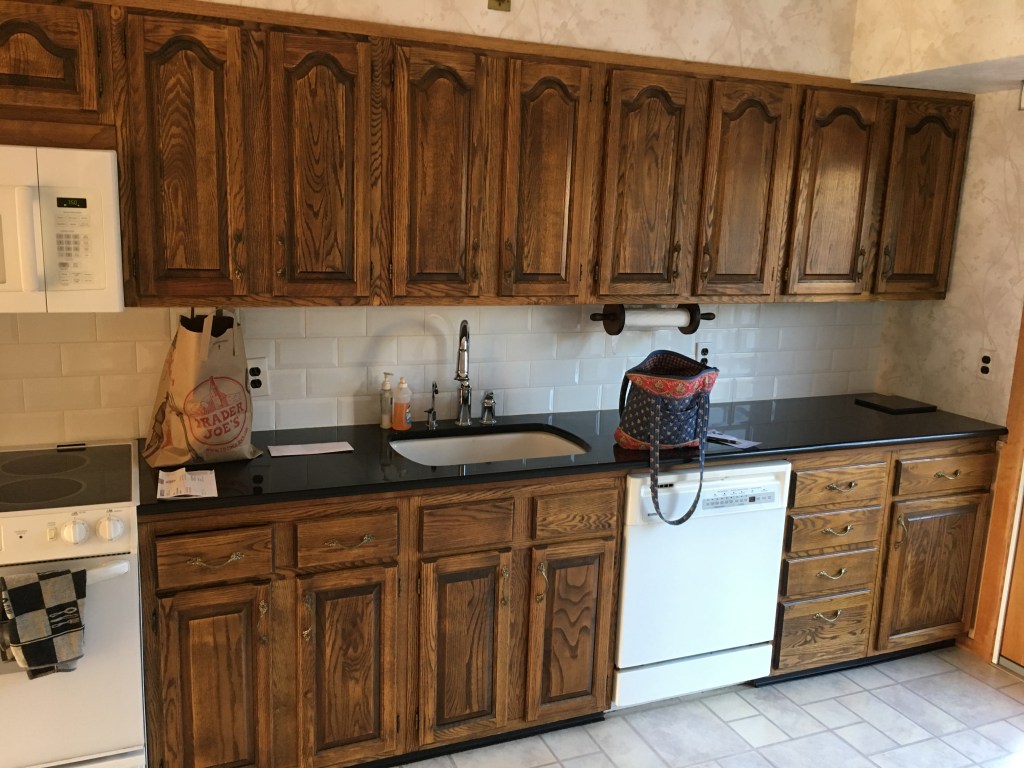
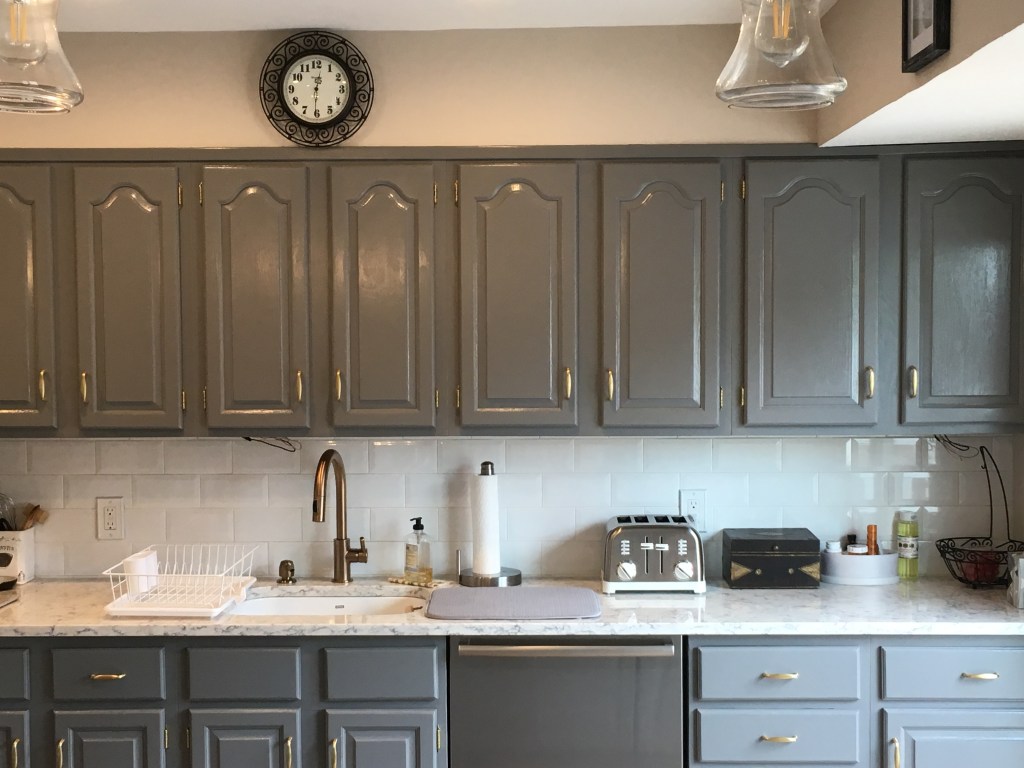
Kitchen Cabinets: You’ll need sand paper (medium and fine), primer and paint. I used Fine Paints of Europe (at Aboff Paints in Roslyn, NY, a rep color-matched Ikea’s Bodbyn gray cabinets in a satin finish for me). One coat of primer and one coat of paint is all you’ll need for cabinets. It’s a fabulous product!
I replaced the handles, but kept the original hinges (Always try to use original hinges! Doors settle over time and new hinges never fit just right.). I used Rustoleum Spray Paint in Metallic Champagne Bronze to match the hinges to my new handles.
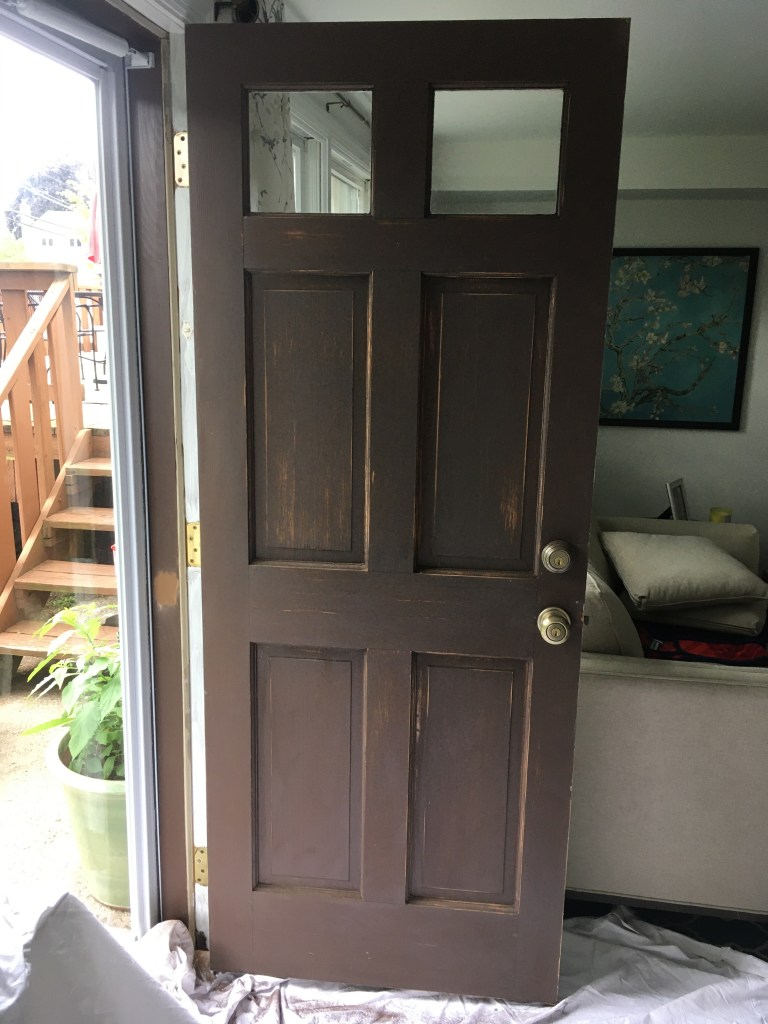
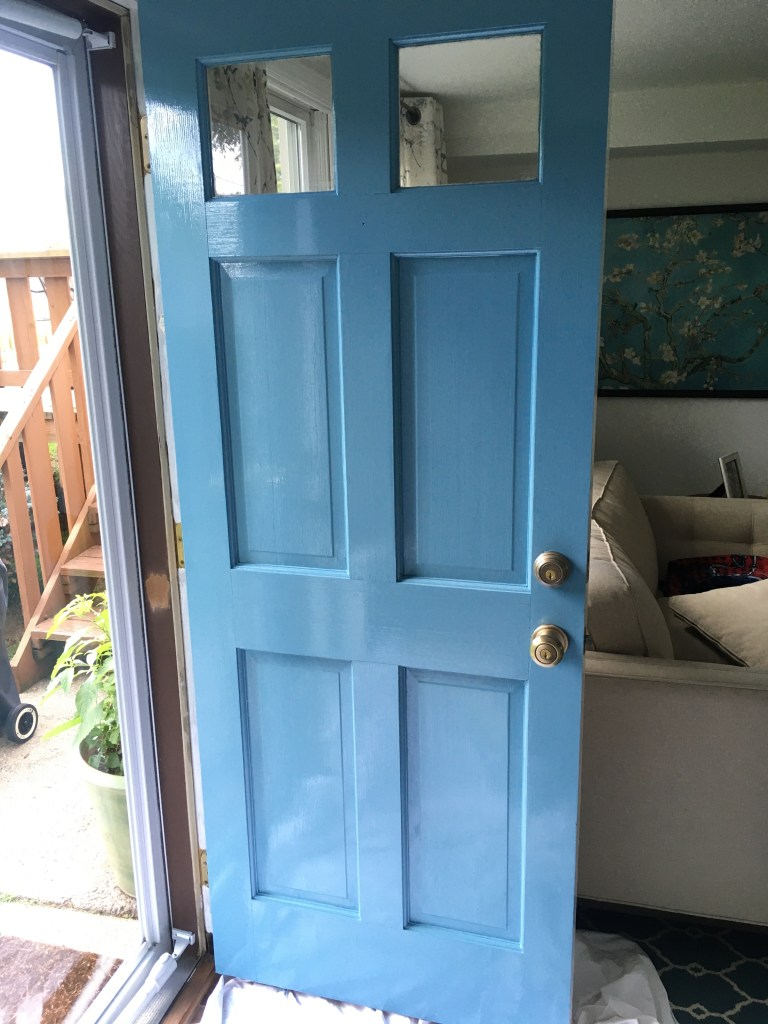
Door: You’ll need sand paper (medium and fine), primer and paint. I used Fine Paints of Europe in Wash Basin (satin finish). This project took one coat of primer and two coats of paint.
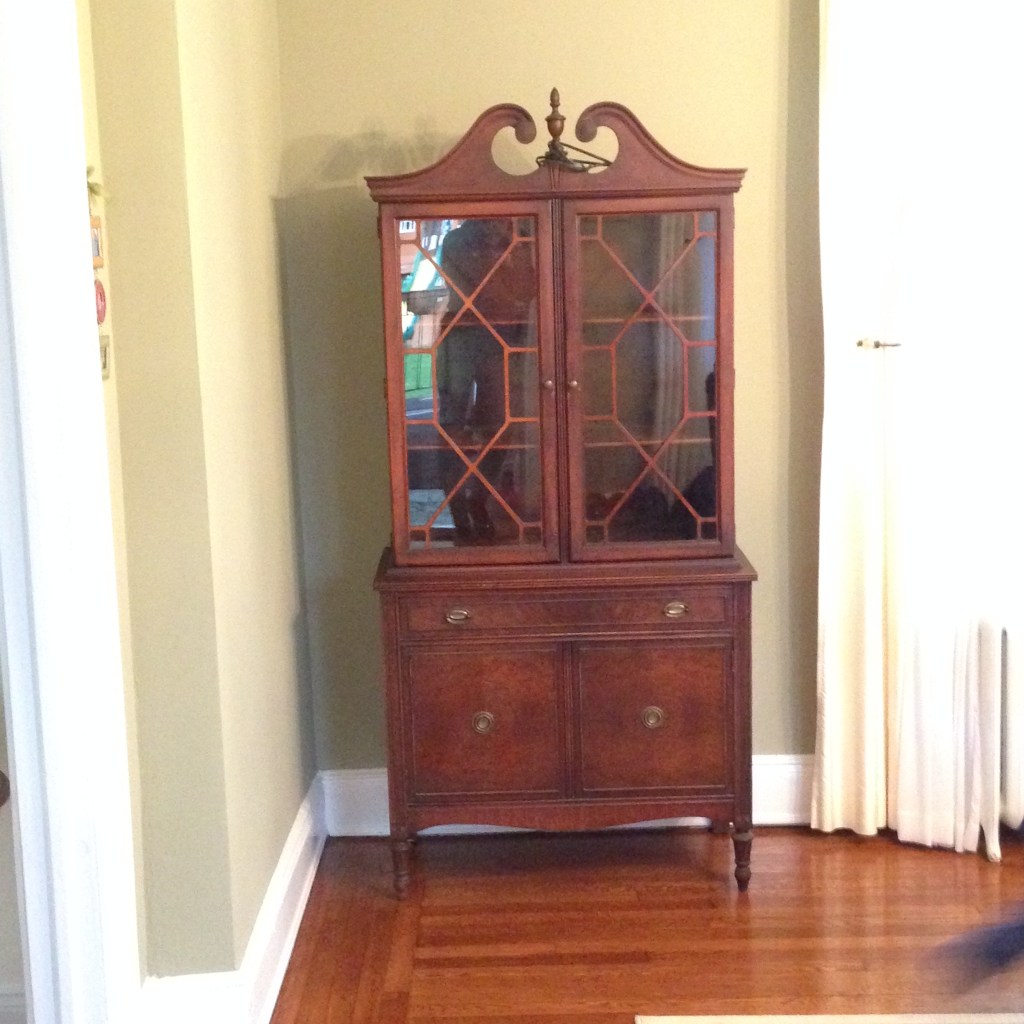
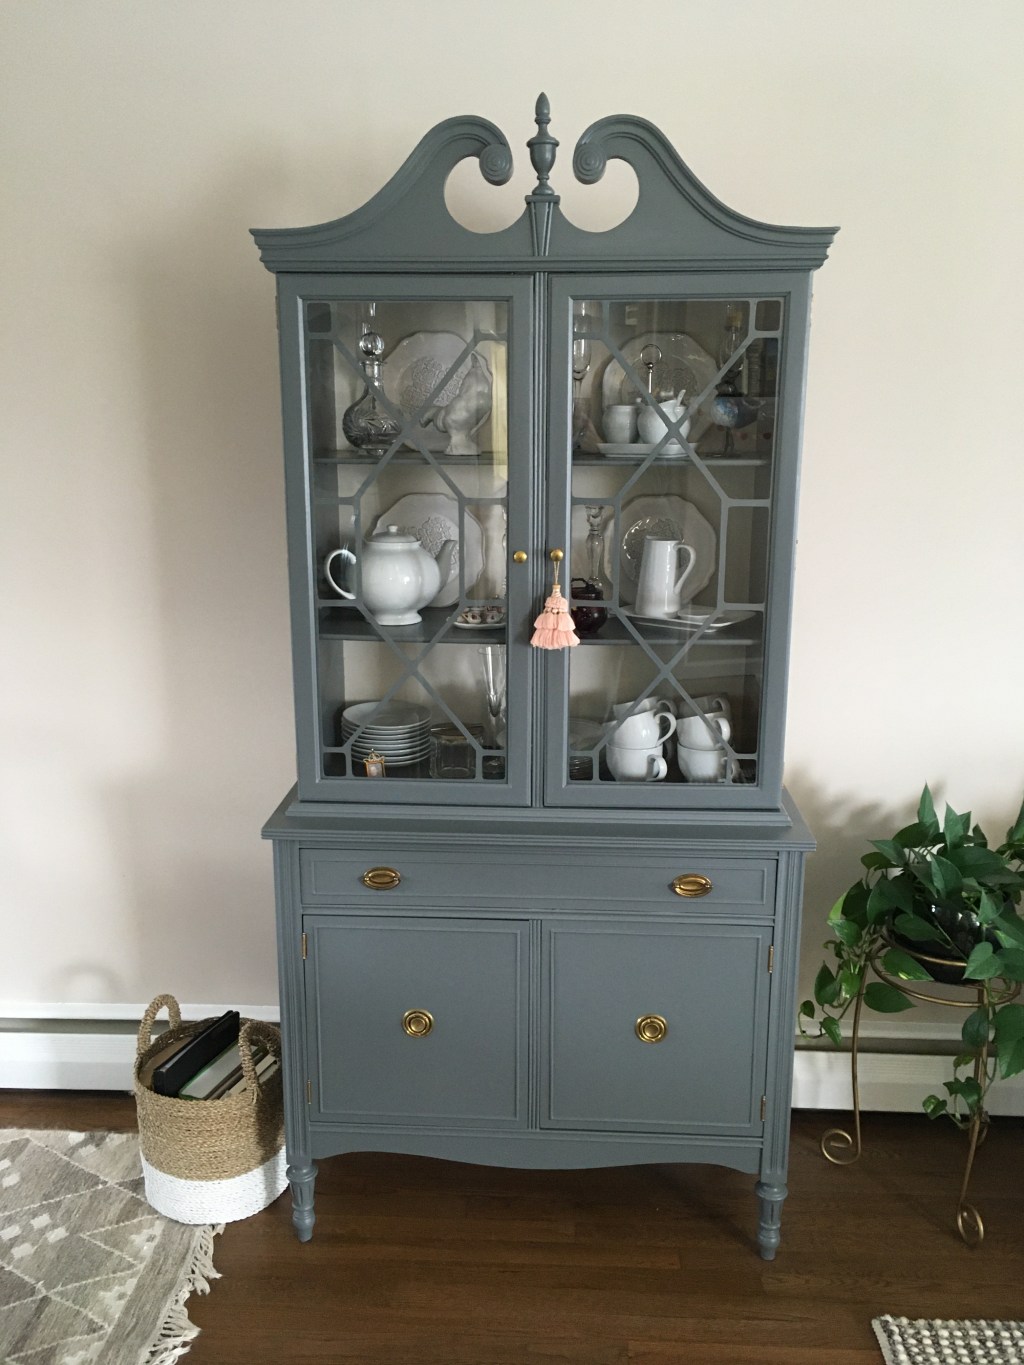
China Closet: You’ll need sand paper (medium and fine), primer and paint. I used Benjamin Moore Advance Primer and Benjamin Moore Advance Paint in Rocky Coast for the exterior (satin finish) and Sail Cloth (satin finish) for the rear of the interior cabinets. This project took one coat of primer and three coats of paint.
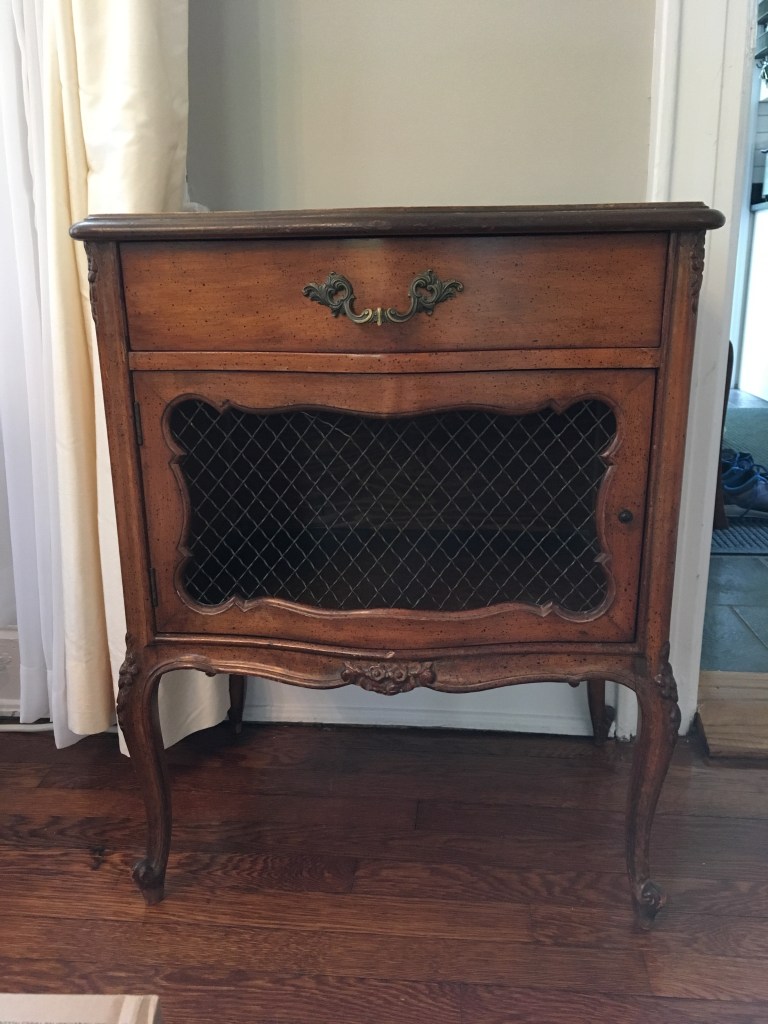
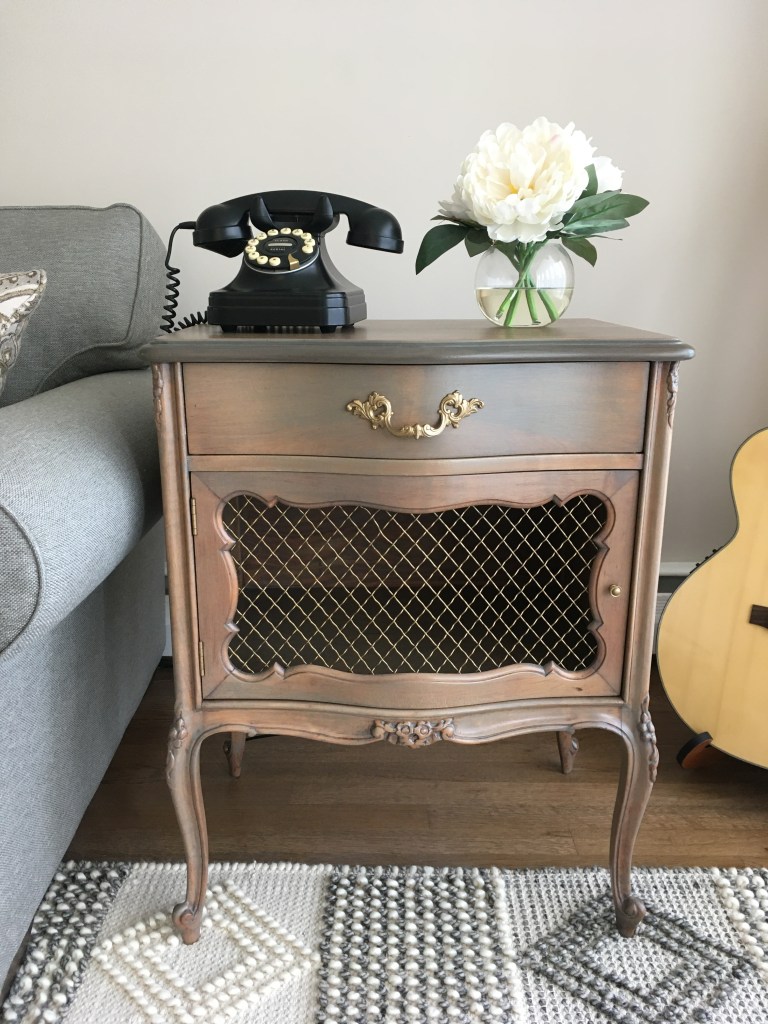
End Table: You’ll need, sand paper (medium and fine), stain (I used Varathane in Weathered Gray*) and three coats of clear, satin polyurethane. Varathane and Minwax both make nice products. I used foam brushes, purchased inexpensively at Home Depot, to complete this project.
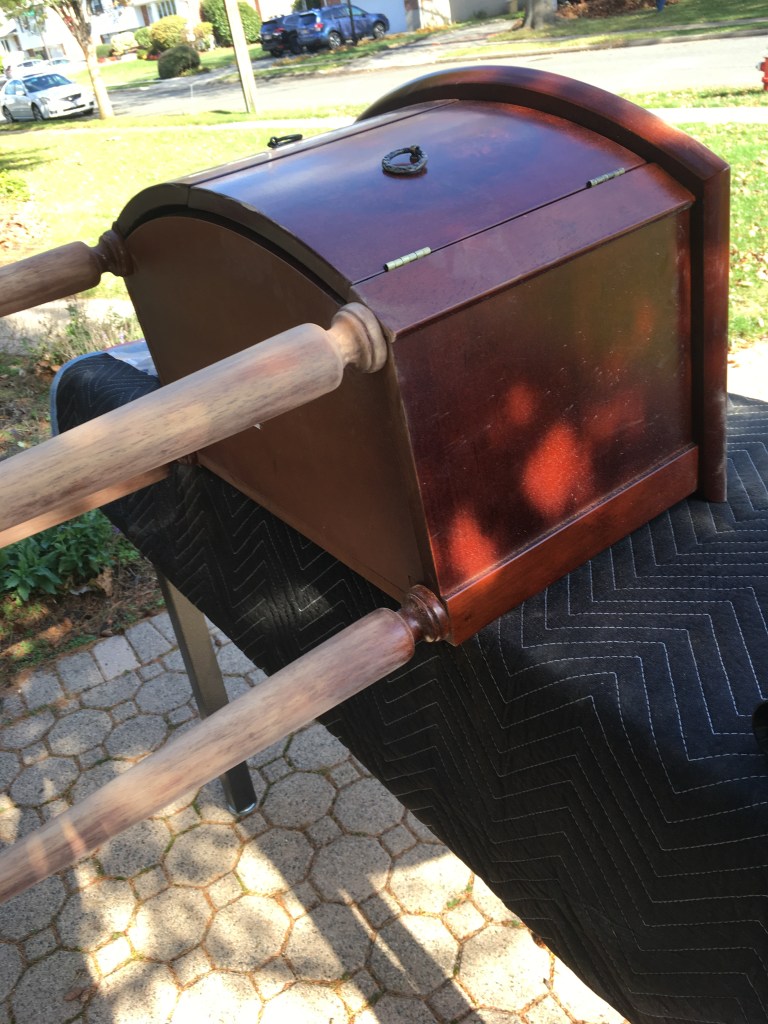
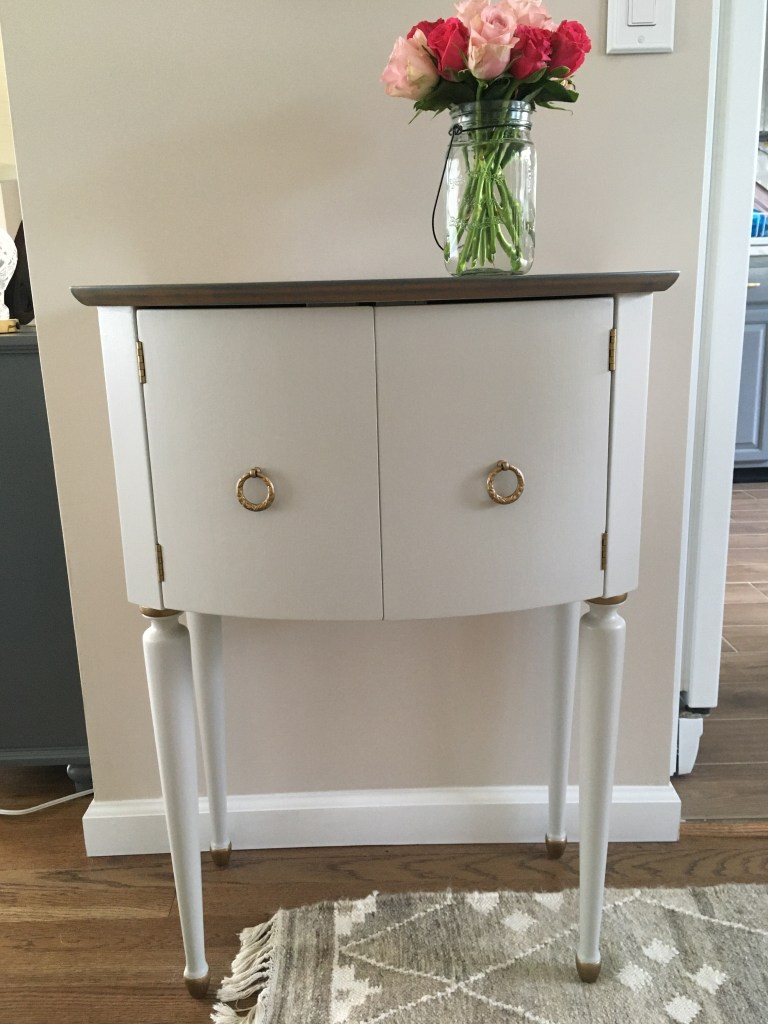
Accent Table: You’ll need, sand paper (medium and fine), stain (I used Varathane in Weathered Gray*) and three coats of clear, satin polyurethane. Varathane and Minwax both make nice products. For the handles and hinges I used Rustoleum Spray Paint in Metallic Champagne Bronze. I used foam brushes to complete this project.
*Note the difference in appearance of color between the wood on the end table and the wood on the accent table. One stain can appear very differently on different types of wood. Always test stains in an inconspicuous place before going all in!
The Process:
1. Sand, sand, sand. The prep work is the most work and the most important step. Start with a medium grade sandpaper to get off the old finish and work your way into a fine grade sandpaper so that when you run your hands over the piece, it’s smooth. Always sand in the direction of the wood grain. If there are any holes/dings that need repair, Minwax Wood Filler is a great product, which comes in different colors if you plan to stain your finished piece. For smaller projects I usually sand each piece by hand (I feel I have the most control that way), but if needed for fine detailing (like the end table above) I use my Dremel sanding rotary tool. It takes some getting used to, but it’s a life-saver for getting to those hard-to-reach places.
2. Prime-Time. You MUST prime your piece. You can always have the primer tinted to match the paint, so that coverage is a bit easier, but it’s not necessary. Use a thin, even coat and let it dry completely. Be sure to use a quality brush. There is nothing more frustrating than finding loose brush hairs mixed in with your primer or drying on your project!
3. Paint. Thin coats are a must. Let each coat thoroughly dry before starting the next one. Patience is key! Again, use a quality brush. It’s worth the extra money!
4. Cure. Don’t make use of your finished piece until the paint fully cures. Cure times vary between paints. Fine Paints of Europe products take up to three weeks to cure fully, but the wait is definitely worth it!