
Let me start by saying that I do not know much about embroidery or the various stitches used to create the beautiful designs we have all seen embroidered on various garments, but I’m learning! Keeping that in mind, I am also here to say that in just a few minutes, with even a minimal amount of skill, you can save a damaged article of clothing from ending up in the trash bin by patching it up with an embroidered design. I know this because I recently did just that. You can find tons of inspiration for designs on the internet (I love Pinterest for this). For my patches, I went with a rose inspired design.
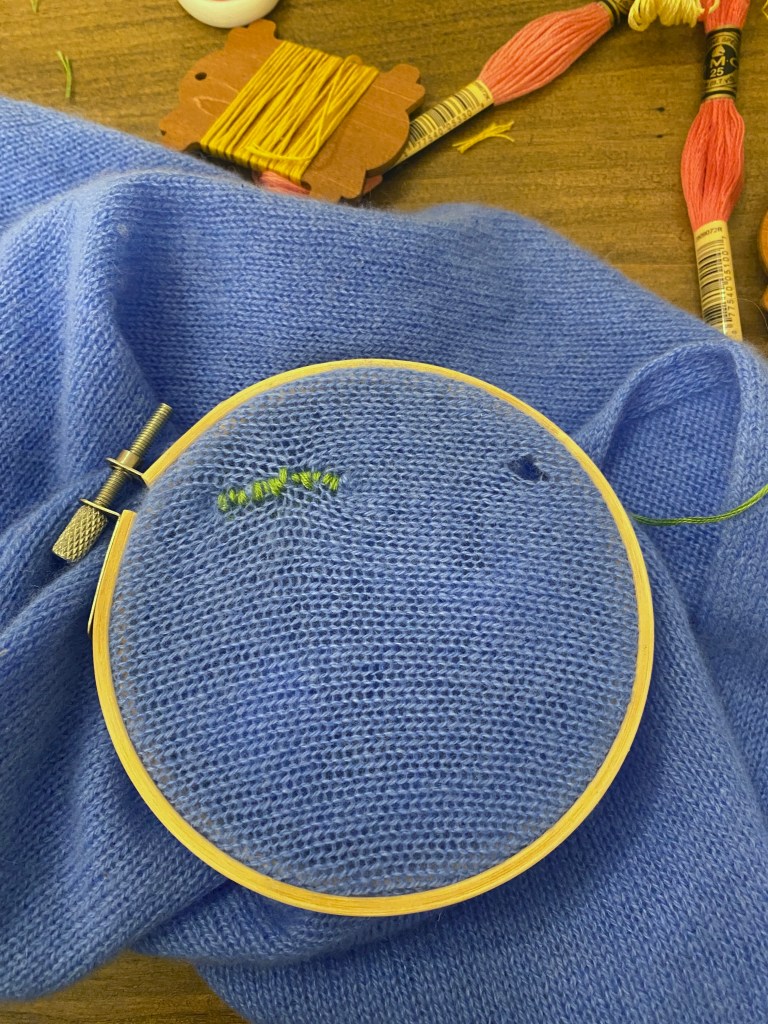
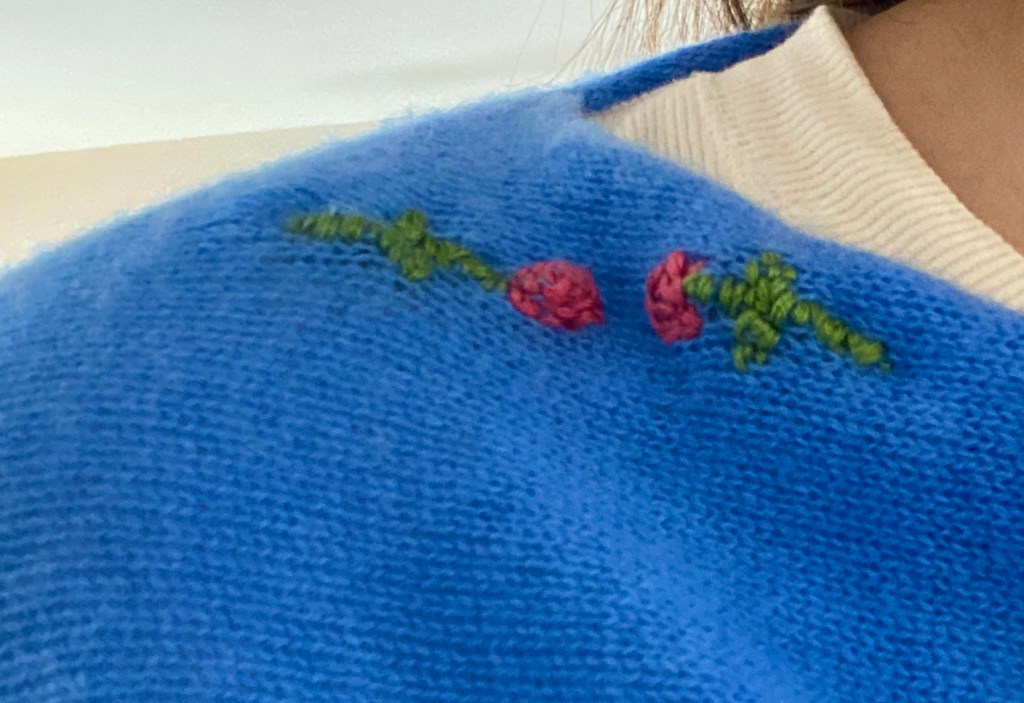
I recently acquired a 100% cashmere, light blue scarf/poncho that had three holes in it, possibly due to moth damage (Side note/wool garment care tip: Skip the traditional moth balls and use cedar blocks to prevent moth damage in your closets. It’s better for the environment and your nostrils – cedar smells heavenly!). I really love the color and feel of the garment and did not want to trash it, so I decided to try my hand at embroidering a design over the holes. I think it worked out perfectly, despite me kind of “winging” my way through the stitching (see pictures below).

If you’re interested in doing the same for an item of clothing you’d like to save, here is a list of items you’ll need to get the job done, as well as a link to a site which can teach you the basic stitches:.
Materials:
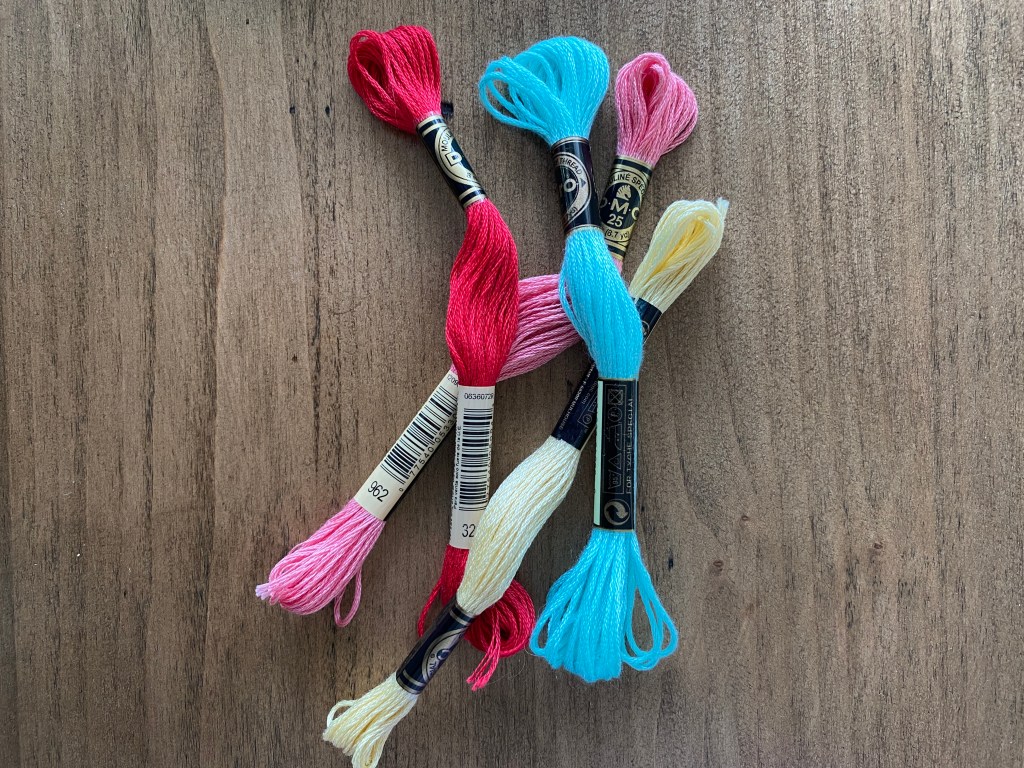
- Embroidery Floss: This is the “thread” that you use to create your designs. Embroidery floss is usually made of cotton, comes in every color imaginable and is inexpensive. You can find it at any arts and crafts store.
2. Embroidery Hoop: This is a two piece circular set, usually made of wood. It contains two rings, one that fits inside the other. The larger ring contains a screw that allows you to tighten it so that while you’re working, your fabric is held tight. I got mine at Michael’s Crafts for under two dollars.

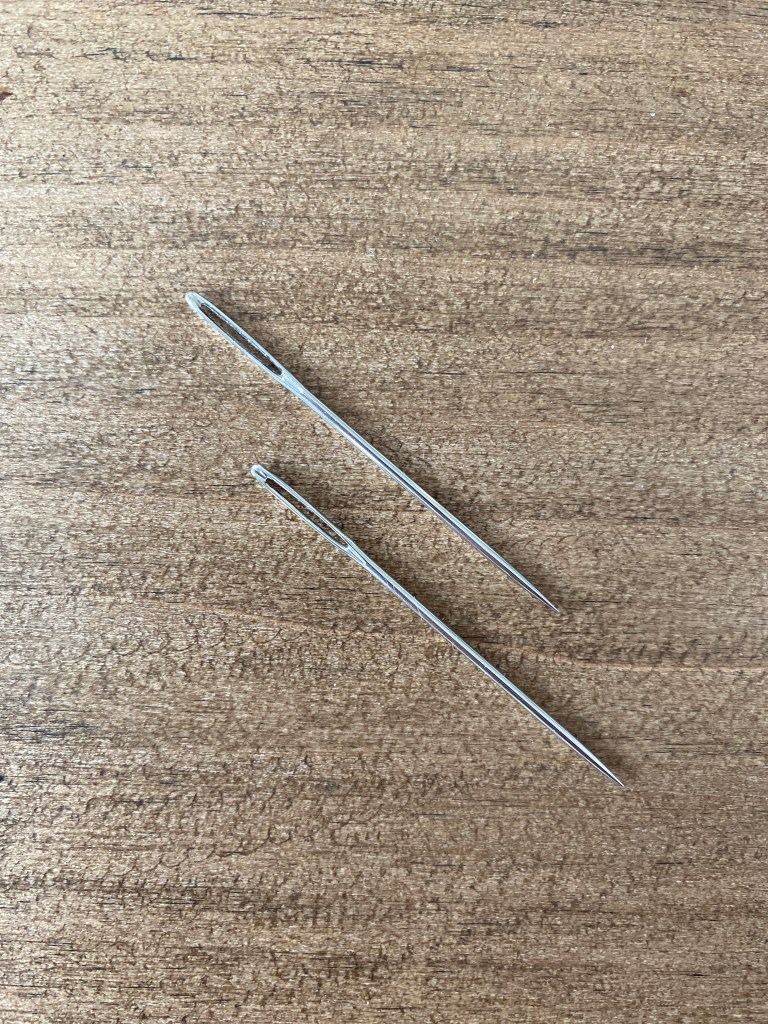
3. Embroidery Needle: The eye of this needle is a bit larger than the eye of a needle for sewing thread, as embroidery floss consists of six strands of floss which may or may not be used together. I bought a box at Michael’s Crafts.
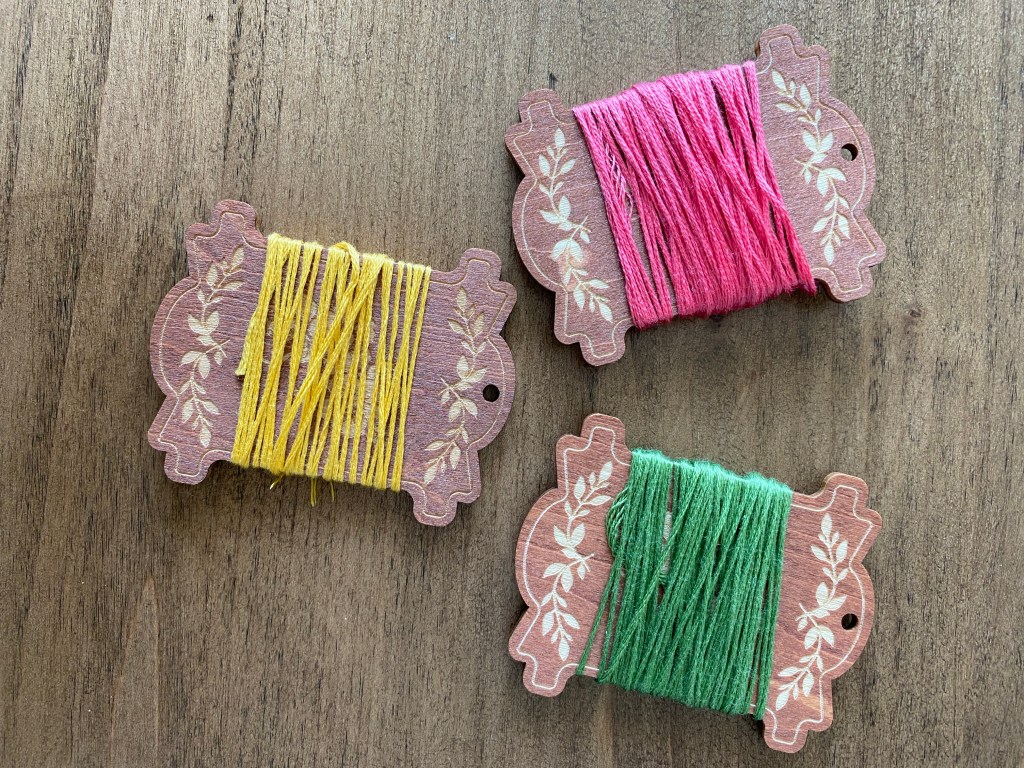
4. Thread Keeps: These small boards are used to wrap your embroidery floss so that it doesn’t tangle. You can find really pretty ones on Amazon.
5. Small Scissors
Basic Stitches:
There are twelve basic embroidery stitches: straight, satin, outline, back, whipped back, split, lazy daisy, chain, French knot, fly, leaf and wagon wheel/rosette. I came across a great site that includes photos and step by step instructions of each one. There are also many tutorial videos on YouTube that you can watch.
For my project, I tried my hand at the rosette stitch and the satin stitch. It wasn’t perfect because the cashmere I was working on was very fragile, so I kind of created my own version of those stitches, but it worked out great!
The Takeaway:
The thing to keep in mind is that you’re trying to save a garment. If it looks nice when you’re done, wonderful! If not, you’re no worse off than you were when you started.
Funnily enough, I like my poncho more now that I’ve embroidered flowers on it, as opposed to how it looked plain. I guess it’s a good metaphor for life: Perhaps “damage” or trouble/mistakes/difficulty in life can be viewed as an opportunity for improvement. Once you work on repairing things, you may very well end up much better off than where you started. I guess instead of saying “when life gives you lemons, make lemonade” you can say, “when moths create holes, embroider pretty patches”. I know, not as catchy, but you get the idea!
Here’s to saving and improving our clothes and ourselves. Have fun designing your own pretty patches!
