

Yes, you read that right.
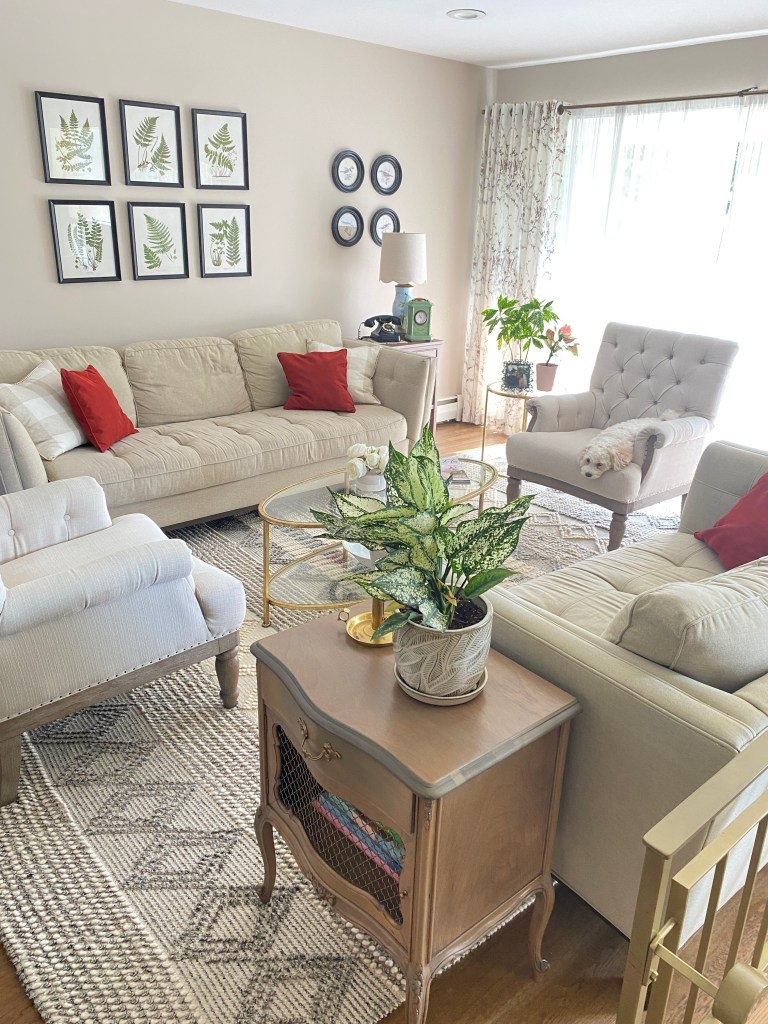
I just spent the last two weeks redecorating my home for free. Here’s how you can do the same:
1. Shop your home like you shop your closet.
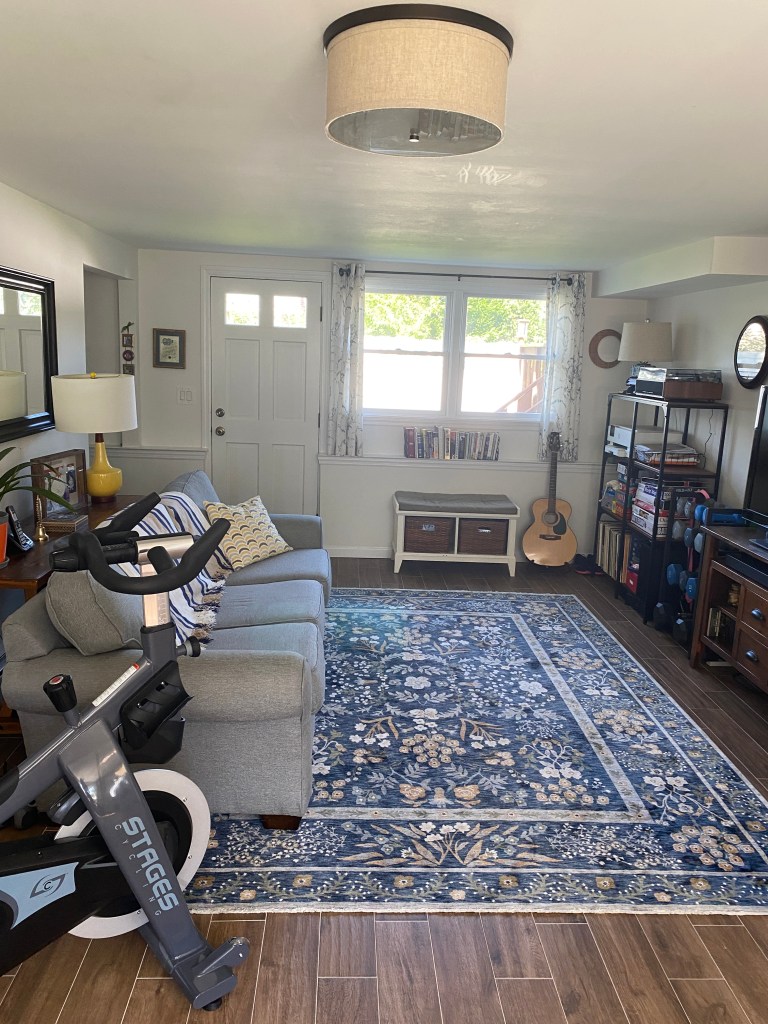
Evaluate every room in your house in terms of furnishings. What “works” in each room and what doesn’t? For example, in my home (which is a split level) we use the first floor of our home as our TV room. In that room we had a couch and a loveseat. No one ever sits on the loveseat – and I mean never. That room really only works with one couch facing the TV. As such, we were wasting valuable space with a piece of furniture that could be better used elsewhere.
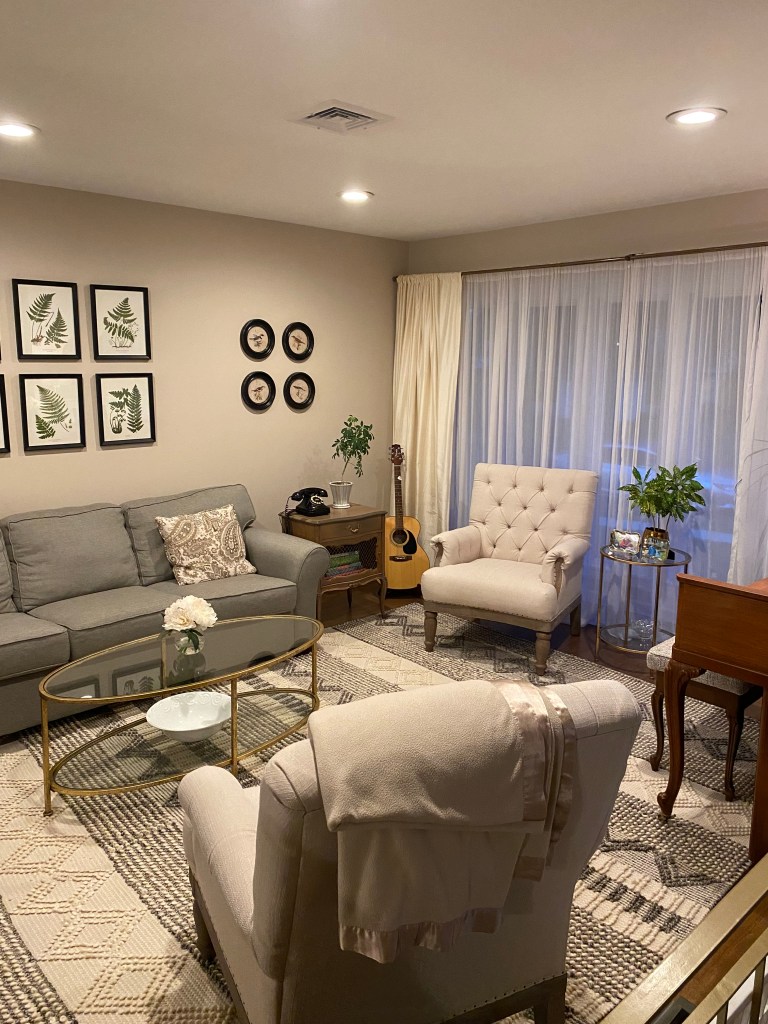
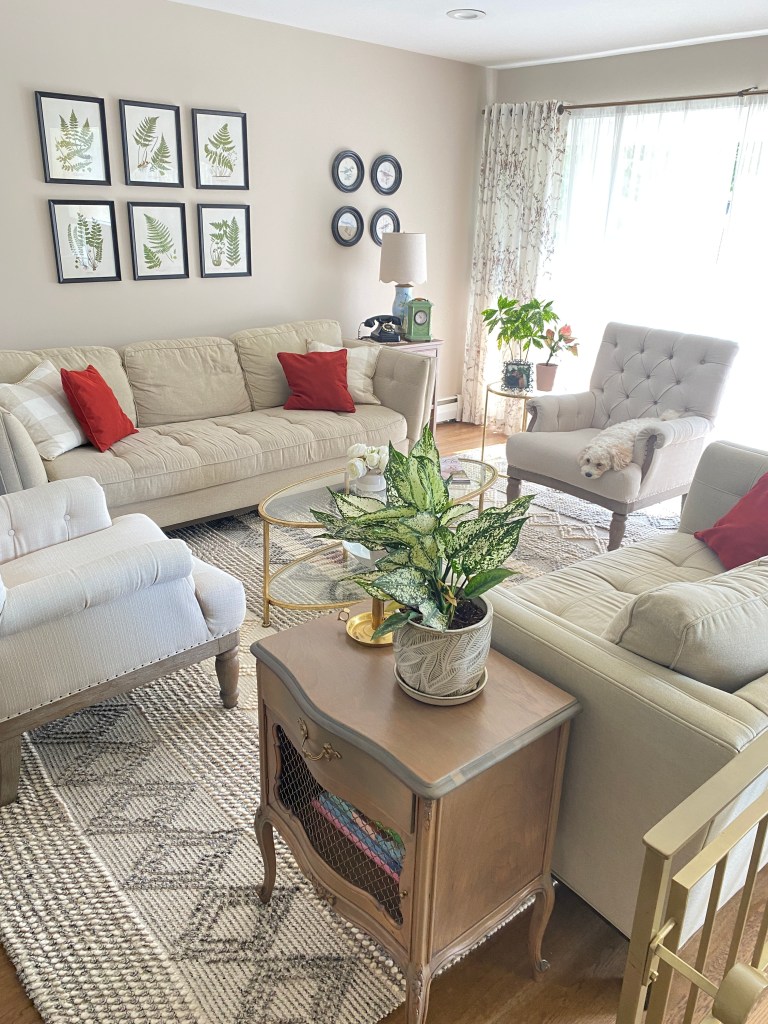
Conversely, on the main level of the house, we needed additional seating. I wanted the living space on that floor to serve as a hangout spot for the family so we could chat or play board games. So, I swapped the couch and the loveseat on the main floor for the one couch that was on the second floor. Voila! Both rooms look beautiful and are much more functional (see photos below).
Additionally, I moved a bookshelf, storage bench and sofa table to new locations too, which enabled me to move my workout space from the basement to the main floor. Having less equipment in the basement completely altered and improved the way my laundry area looks and functions as well. I gained a ton more space!
Now I have a completely new look in three rooms of my house and it didn’t cost me a dime. What it did involve was A LOT of heavy lifting and cleaning, but I can’t tell you how much better the house looks and works for my family. My youngest commented that the house is so much more cozy now and my oldest told me he loves the changes, which means a lot since he helped immensely with moving the furniture. Mission accomplished!
2. Reconsider your wall decor.
After you’ve moved some furniture around and feel good about it, how does your artwork look? Does any of it need to be moved/changed? Do you want to add some new pieces?
Here are a few ways to create wall decor for free:
- Search for suitable images on the internet and print them out to fit frames you already have in the house (or if need be, ones that you thrift).
- Frame/hang printed scarves/napkins if the prints work for your space.
- Frame and hang beautiful/unique greeting cards you have received.
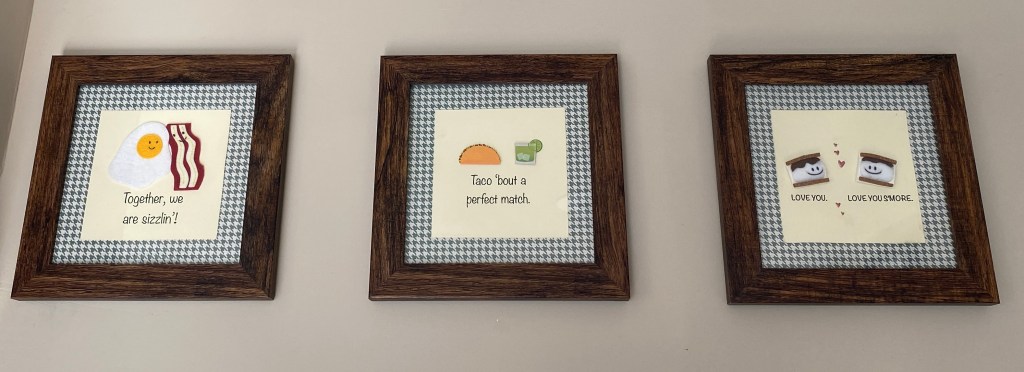
As a result of the changes I made with my furniture, I did have to re-work what was on my walls, which required that I putty some nail holes and touch up paint. Luckily, I saved the leftover paint for each room so I could do this.
Here’s a tip to make touch up painting so much easier:
Pour some of each paint color from the store-bought gallon-sized cans into small plastic containers with screw-on caps (I reuse plastic ice cream containers). This way, you can shake up the paint instead of having to stir it, and you can carry around the paint with you as you go because it’s in a container the size of a cup.
What a difference!
I was able to touch up all of the needed spots in just one morning
3. Glow up your living space with hand-me-downs.
Is a friend or family member redecorating and getting rid of perfectly good items? Do any of them work for you home? Recycle those pieces at your place for a whole new look.
Recently, my mother bought new curtains for her home and was going to donate her “old” ones unless me or my sister wanted them. I now have absolutely gorgeous matching botanical printed curtains for my dining room and living room. It gave the entire main floor of my home a lift. Thanks, Mom!
4. Get organized.
This is an important last step. Your home will feel so much less cluttered and so much more functional if you organize every part of it. As I went through each closet, cabinet and drawer, purging and rearranging items as necessary, I found a pair of shoes my husband thought he lost, as well as a ball my son misplaced. I also found a key chain I had searched high and low for a few weeks earlier. Now when I open a drawer or door my items are accessible and orderly. It feels amazing!
5. Spend a little if it pays off big.
When I moved my workout space to the main floor of the house, I realized I needed a weight rack. For thirty five dollars I bought one that fits my space perfectly and keeps the room organized. It was money very well spent.
I also bought an eighteen dollar storage tub in which I stored some of my son’s things so he could have more room on his shelves in his bedroom. The money was worth the additional space it provided.
Now, when I walk around my house, I feel like my family and I have a completely new home when all we did was rearrange our belongings. Yes, it was a week’s worth of work, but everyone in my family is loving the way our spaces now function, and the benefits of our efforts will payoff for years to come. The best part, besides the minimal cost of a weight rack and one storage tub, it was free!
Feeling inspired? Start imagining your new space now. I like to sketch my plans out first before I make any changes. Feeling stuck? Ask a friend or neighbor for his/her input or use AI or Pinterest to give you some suggestions. As long as you’ve got the muscle and the will, the possibilities are endless!


