
How to make your thrift store finds shine (It’s less work than you think!)
Every so often, I come across some items while thrifting that need a bit of TLC, but I know will look beautiful once they’re transformed. In this week’s post I will be sharing four recent finds, how I transformed them from drab to fab, and how much it cost me (granted, I have most of the materials I needed for their transformations on hand, as I have been refurnishing furniture for over 25 years, but it’s still inexpensive even if you have to buy the supplies).
Project #1 and #2: Wood Shelving
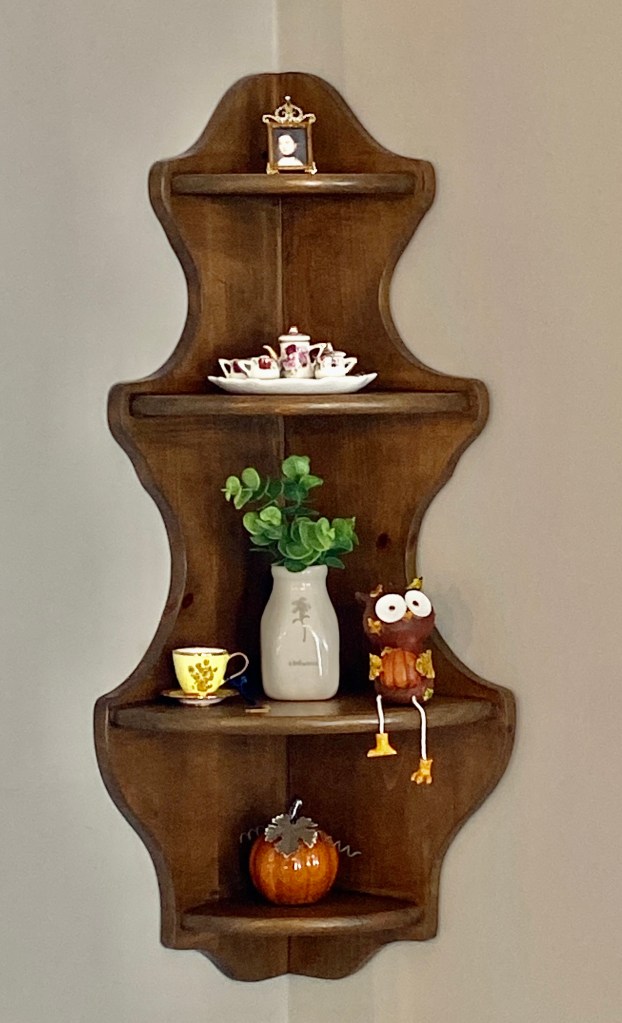
In my previous home, I had space for full size corner cabinets in my dining room, a traditional look that I love, and which offered the space to highlight my favorite knick knacks. In my current home, I don’t have the room for them, so I had been on the hunt for something which would work in their place. Then, a few weeks ago, I scored two solid wood shelves at a thrift fair for five dollars apiece. They needed to be refinished, (see the before photos below), but I knew that with some effort they would turn out to be pieces I would treasure for years.
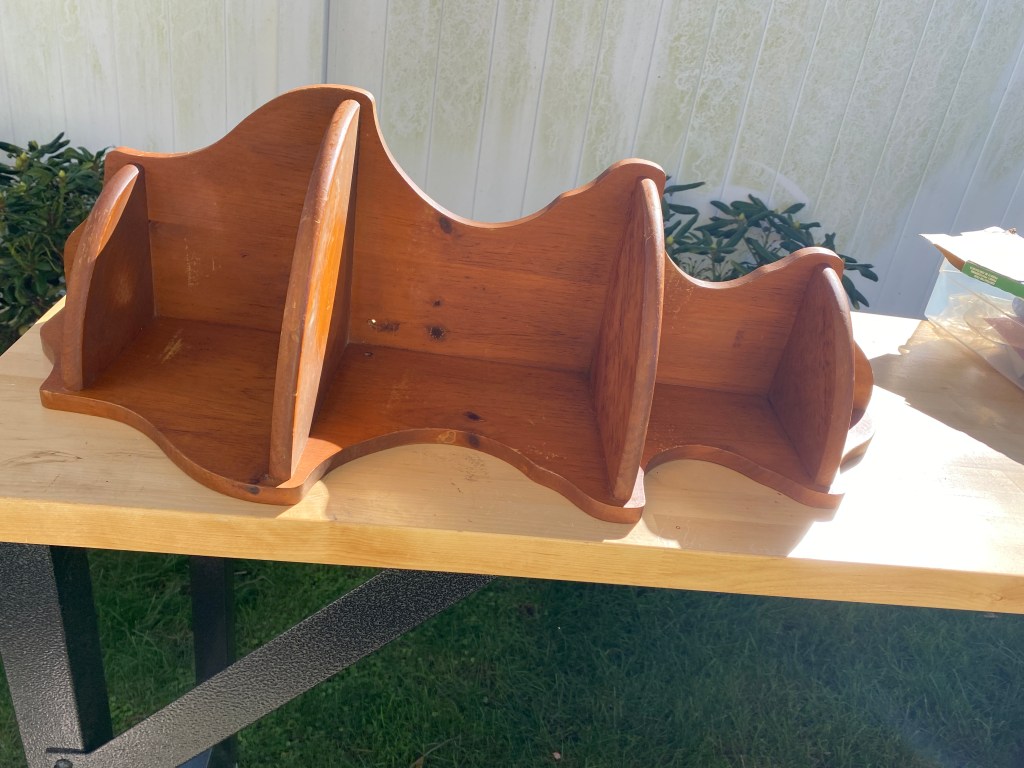
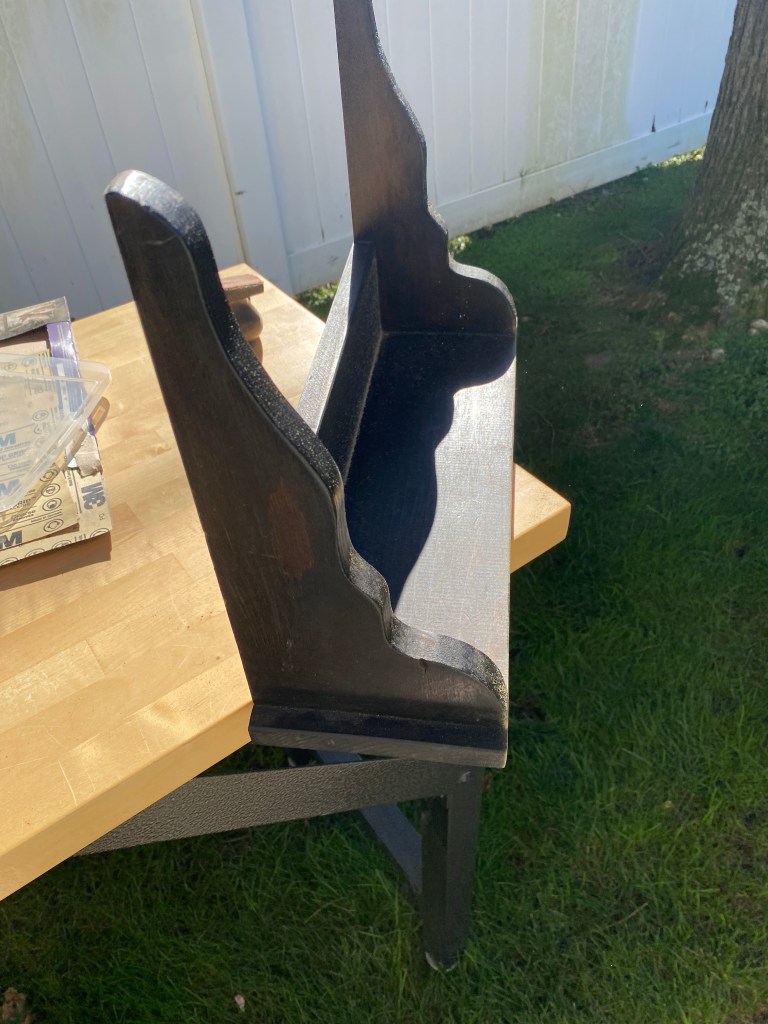
So, how did I do it? I hand-sanded them, which admittedly, was a lot of work and was very messy. As aforementioned, I have been refurbishing furniture for over 25 years, so I have my own work table, and have accumulated many tools and materials which I use repeatedly. If you don’t, here’s what you’ll need to get started:
Materials:
- 1 Face Mask You don’t know what kind of finish you will be removing from your newly acquired piece, and it may be toxic. It’s very important that you protect your nose and mouth so you don’t breath in any toxins.
- 1 Pair of Eye Goggles Again, the finish you are removing could be poisonous. Moreover, larger pieces of finish could fly off of the project and into your eye as you sand. You will also be working with stains and poly, which could potentially splash onto you. It’s best to be safe and protect your eyes.
- 1 Drop Cloth You will need this to protect your project and the space in which you are working.
- 2 Pairs of Gloves You will need a more substantial pair for sanding, as well as a rubber pair for when you are staining and poly-ing your project.
- Varying Grits of Sandpaper (From 80-120) The lower the grit, the more “rough” and “aggressive” the paper is, so it will remove more finish rather quickly, but you need to finish your project with a higher grit to achieve a smooth, glass-like finish.
- Wood Stain I recommend Behr water based stains. I used the “Rustic Brown” color which sounds exactly like what it is: a medium brown with a rustic finish. Water based stains are easy to apply, dry very fast and are low-odor, which is great if you have to work indoors.
- 2 Low-Lint Rags or Cloths One will be used to dust off your piece after sanding, and one will be used to apply the wood stain.
- Polyurethane or Top Coat Again, I recommend a water-based Behr product in a satin finish, as I like a less glossy appearance, but you can choose whatever level of gloss you prefer.
- 1 11/2 – 2 Inch Paint Brush Used to apply the poly/topcoat. A water-based product is easily washed off of the brush after you use it.
Pro Tip: Don’t wash your brush after applying each layer of topcoat, but be sure to wrap the bristles of the brush in aluminum foil and seal the entire brush in a plastic bag to keep it from drying out in-between layers. This is such a time and effort saver!
Instructions:
- Starting with a lower number grit sandpaper, begin removing the finish on your piece, working in the direction of the grain. Once all of the finish is removed, complete the sanding process by using a finer grit paper. When you are done, all sanded surfaces should feel smooth.
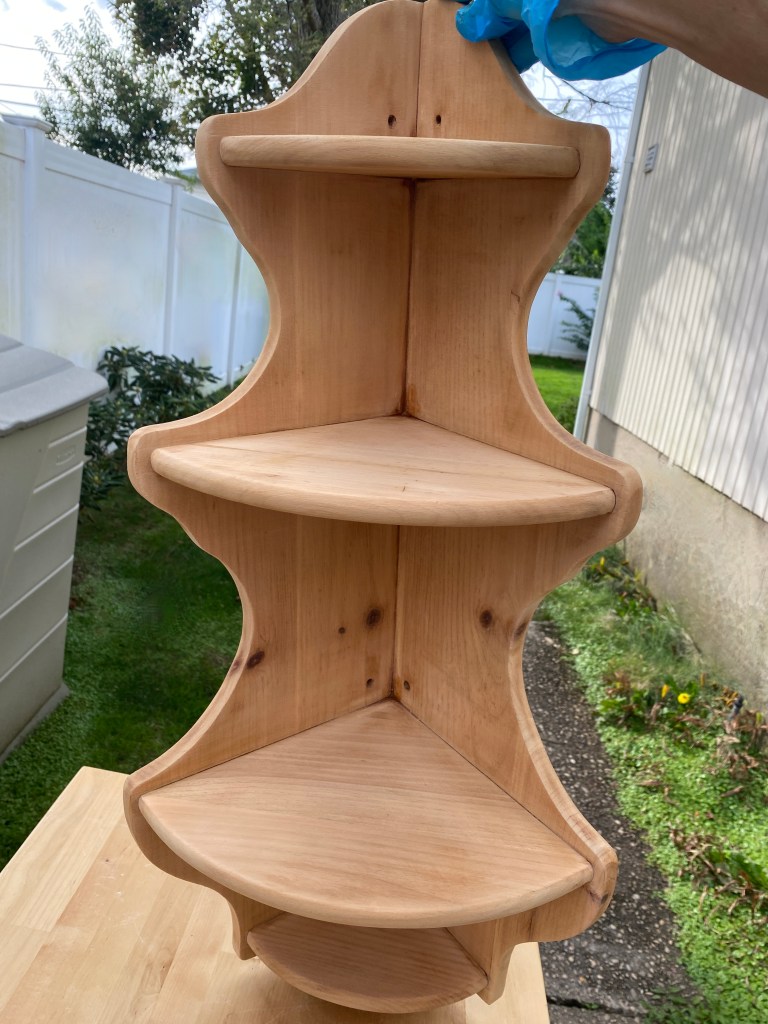
- Be sure all of the dust from sanding is removed from your piece before beginning step 3. Use a rag or an old brush for this.
- Using a dry, clean rag, stain your project. Be sure to cover it evenly and completely. Depending on how opaque you’d like the finish, you may have to apply multiple coats, but be sure to let each one dry before you begin a new one.
- Once the project is completely dry, apply your poly or top coat with a brush. Use light, continuous strokes, making sure to avoid/flatten any air bubbles. After each coat dries, very lightly sand and brush your project to ensure a smooth finish. Apply no more than three and no less than two coats of the topcoat product.
- Allow your project to cure for at least 24 hours before light use, and at least three days for more heavier usage.
Completed Projects
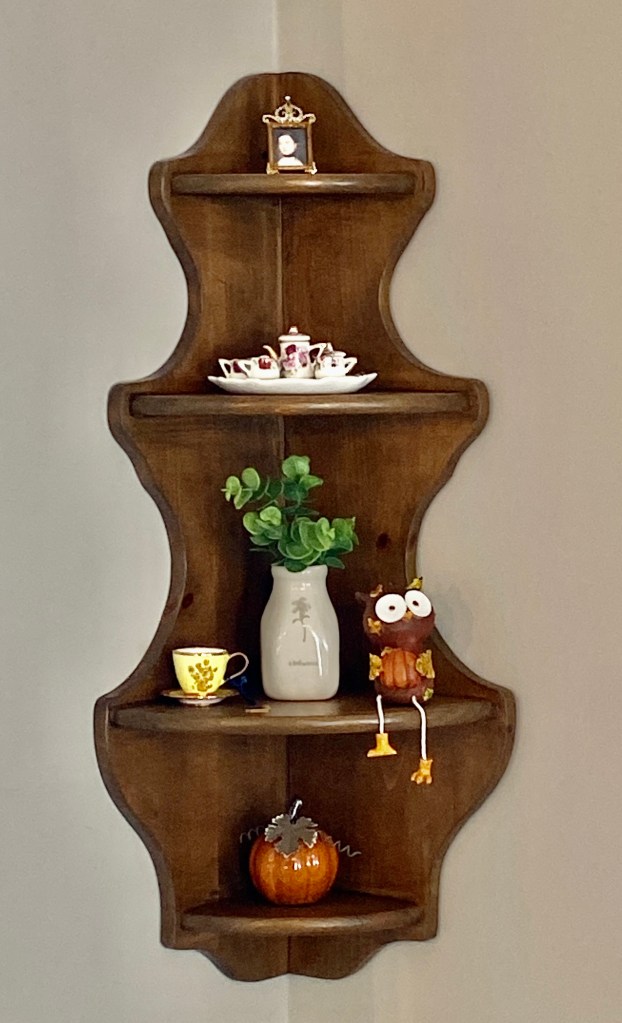
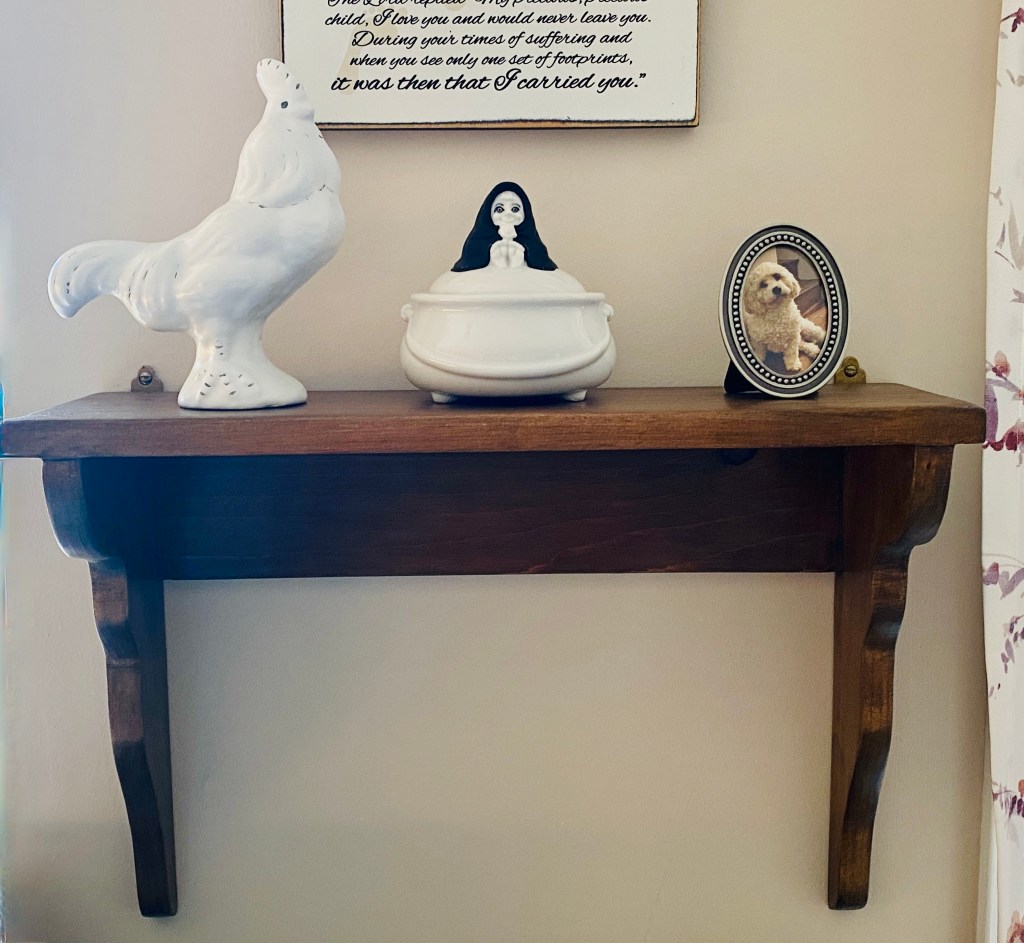
I love how they turned out! All in all, it took about eight hours to complete each piece from start to finish, hours which were broken up over about a week. I wouldn’t say it’s work I necessarily enjoyed, but the results are certainly worth my effort, and the cost, even counting the cost of the materials which I have on hand because I do this type of work a lot, is very low as compared to buying brand new, quality pieces like the ones I found. In fact, because the pieces I find thrifting are usually very old, unique and of such high quality, it would be very difficult to find similar ones today unless I was willing to spend a lot more money.
Project #3: Mail Bin/Key Holder
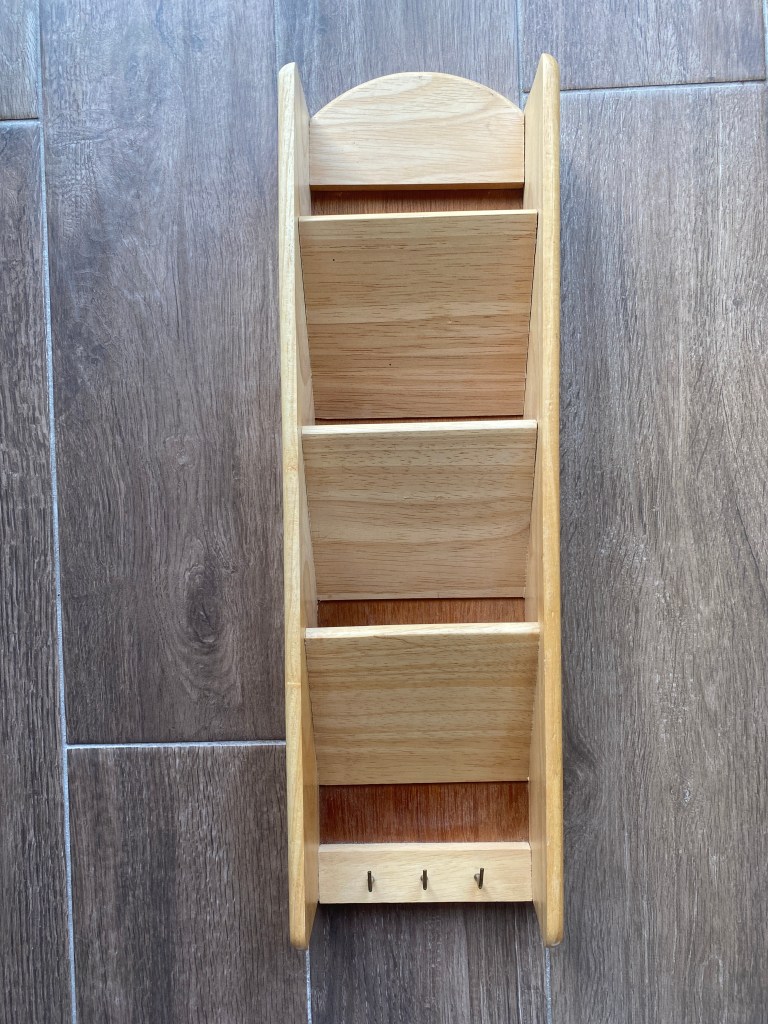
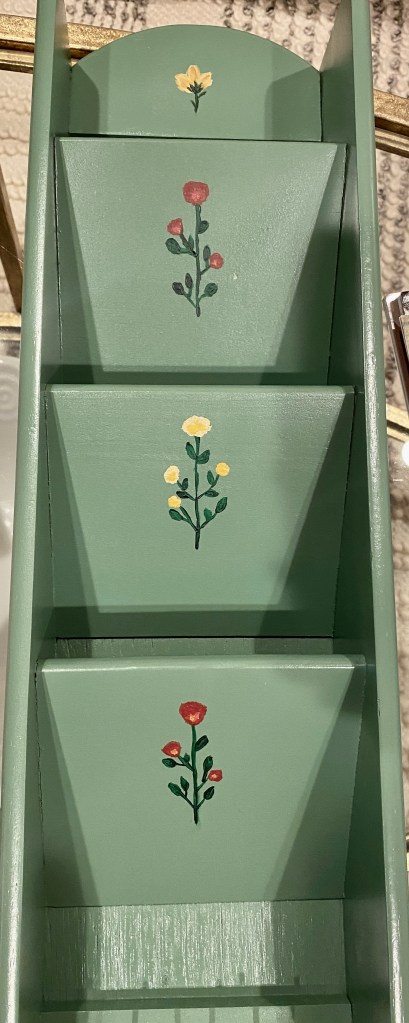
The eight-dollar piece I found is made out of wood, but it was certainly nothing to look at, as it had zero character. The size of the piece, however, was perfect for my space. I knew with a little paint and some creativity, I could really make it beautiful. Here’s how I did it:
Materials:
- 1 Face Mask The spray paint used in this project will release fumes which you don’t want to breathe in.
- 1 Drop Cloth (To protect your space)
- 1 Can of Spray Paint Use any color and finish you like. I choose Moss Green in Satin finish by Rustoleum.
- Any Craft Paint Brush Set and a Painter’s Pallet I don’t remember where I got mine, but they sell them cheaply at Amazon or Michael’s.
- A Set of Acrylic Paints in Basic Colors You can mix basic colors to create any shade you desire, so you don’t need a big set. I bought mine at Michael’s.
Instructions:
- Make sure your project is free of any dust/grime before you begin, and that it is completely dry.
- Remove any hardware from the piece before beginning Step 3. You may or may not need tools for this, but be careful not to scratch the metal as you remove it.
- Apply the spray paint in thin, even coats. I start with the back of the piece first, making sure it is fully dry before turning it over to paint the front.
- Once the layers of spray paint are completely dry, decide on a design to decorate the piece. I went with florals. I used Pinterest to find inspirational photos.
- Begin painting your design. If you make a mistake, acrylic paint is pretty forgiving while it’s wet. You can simply use a damp paper towel to remove what you painted and begin again.
- Allow your project to cure for at least twenty four hours.
Completed Project:
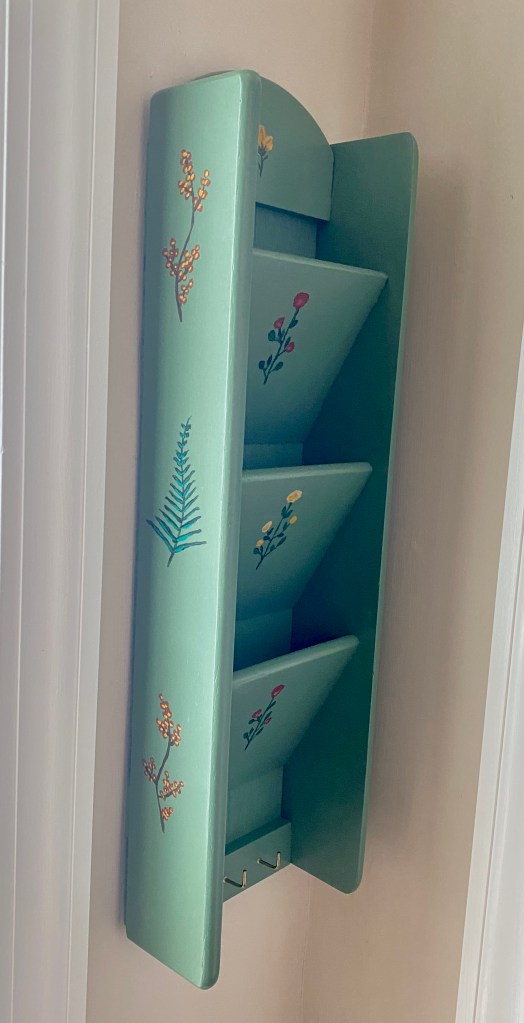
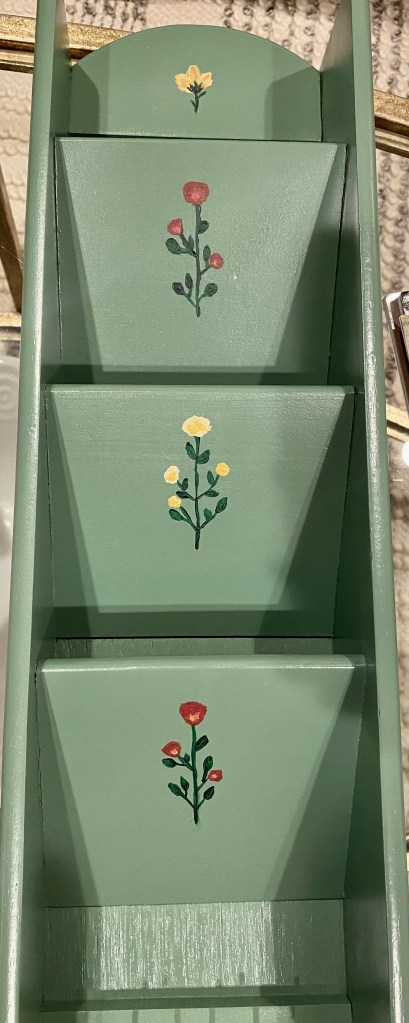
I love how this one turned out as well, and it was a lot of fun to create. There was no sanding involved, so the “messiest” part was the spray painting, which only took a few minutes per layer. It took me about four or five hours (including drying time) to spray this project and about an hour to complete my floral design. I had all of the supplies I needed besides the spray paint, which cost me $7.50. So, the total cost to purchase and paint this piece was $15.50.
Project #4: Silver Casserole Tray
Lastly, I have seen posts by thrifters online who have found ways of using thrifted items in ways in which they were not intended. There was one that I saw that I really loved, and last week, I came across the piece I needed to bring it to life.
For six dollars, I scored a sterling silver casserole holder, which I promptly polished and used as a cookbook holder outside my kitchen. I spent about twenty dollars at Michael’s for some dried flowers to put into to book-shaped vases I had to complete the look, and I couldn’t be happier with it.
Polishing the piece with silver polish took me about half an hour, but what a difference! Unfortunately, I didn’t take a before photo, but the tray was black before I started polishing it.
Completed Project:
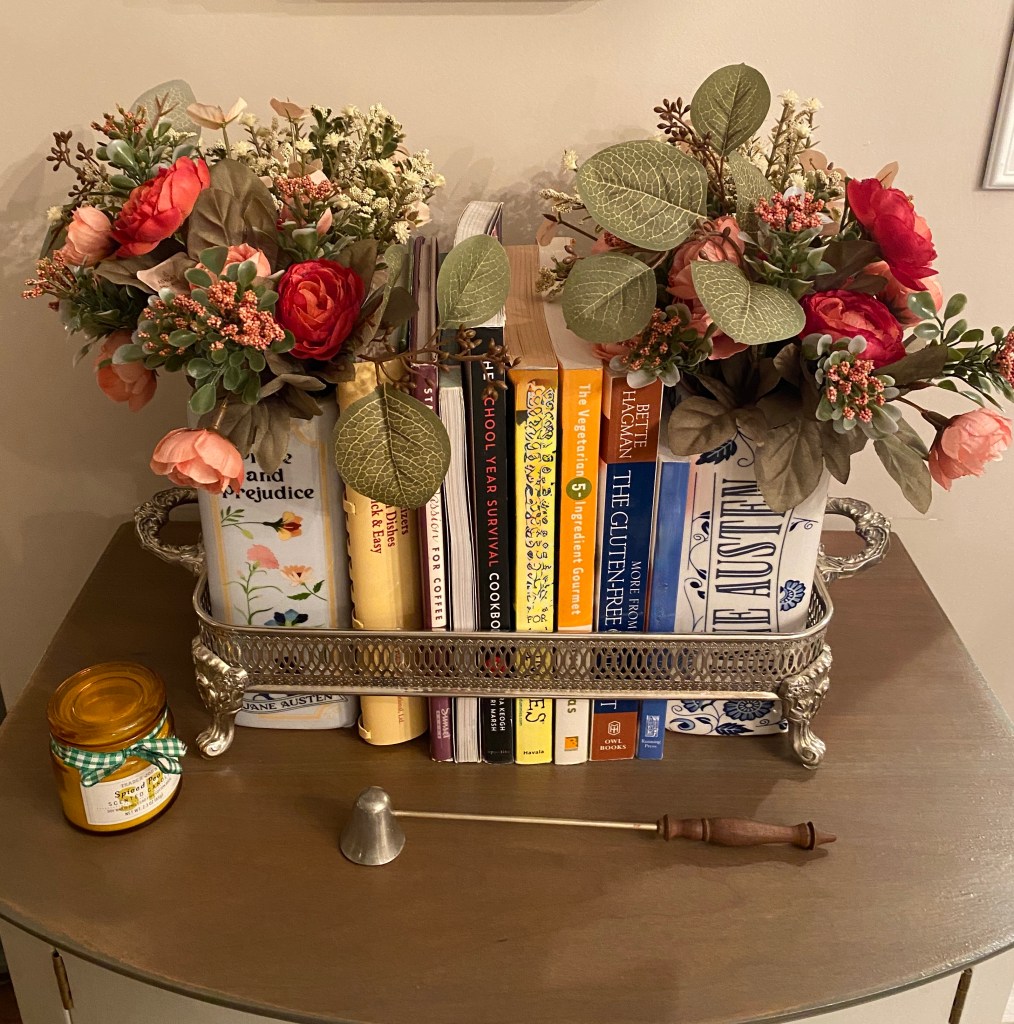
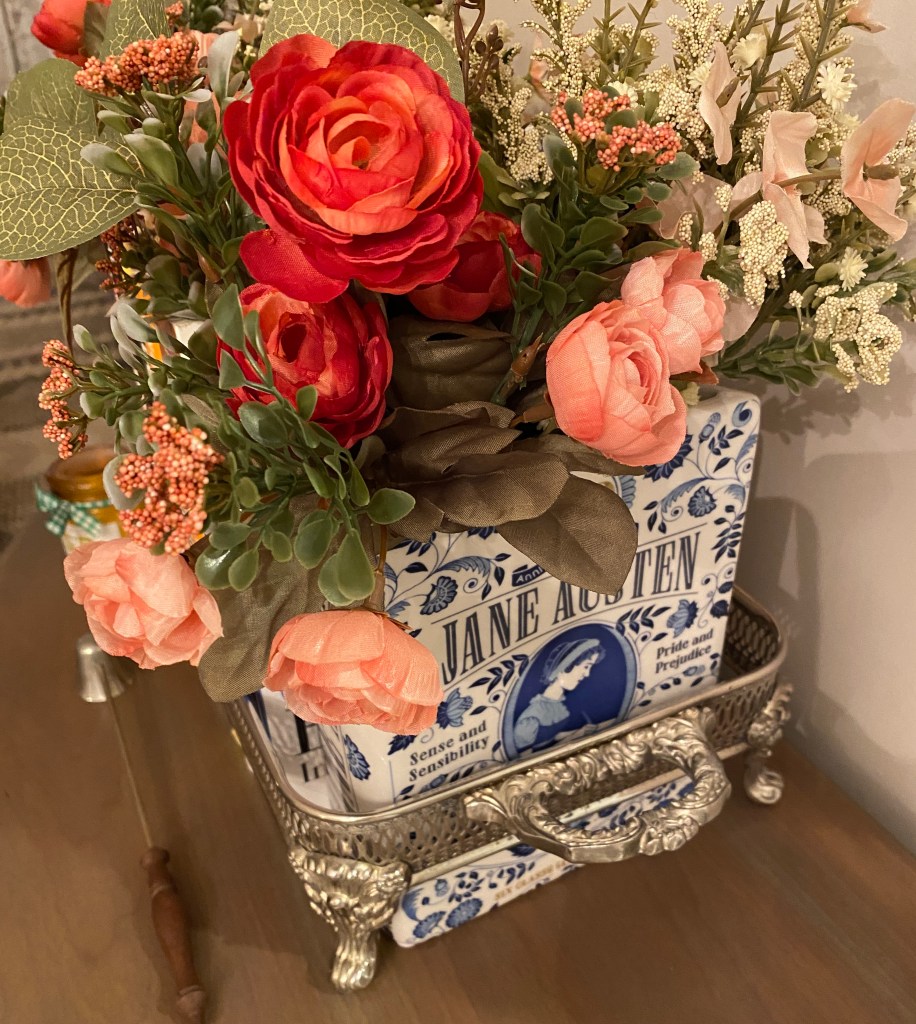
I hope this post has inspired you to use someone else’s cast aways as treasures in your own home.
You are more capable and creative than you realize. With a little patience and effort, you too can create pieces that bring you joy. Here’s to thrifting and uplifting!


