
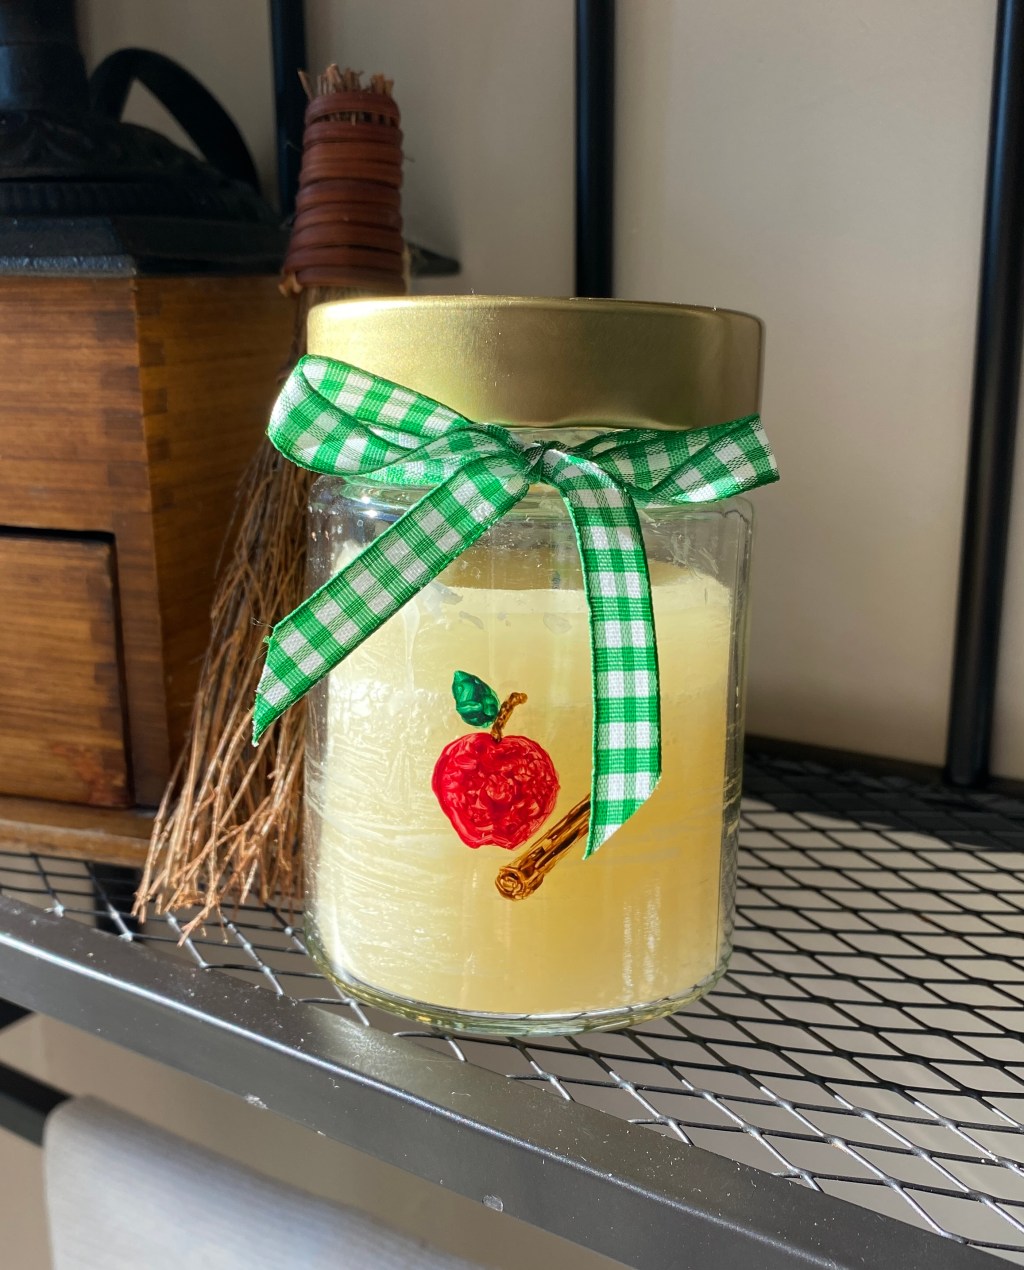
How to Avoid Tunneling and Extend the Life of Your Candles
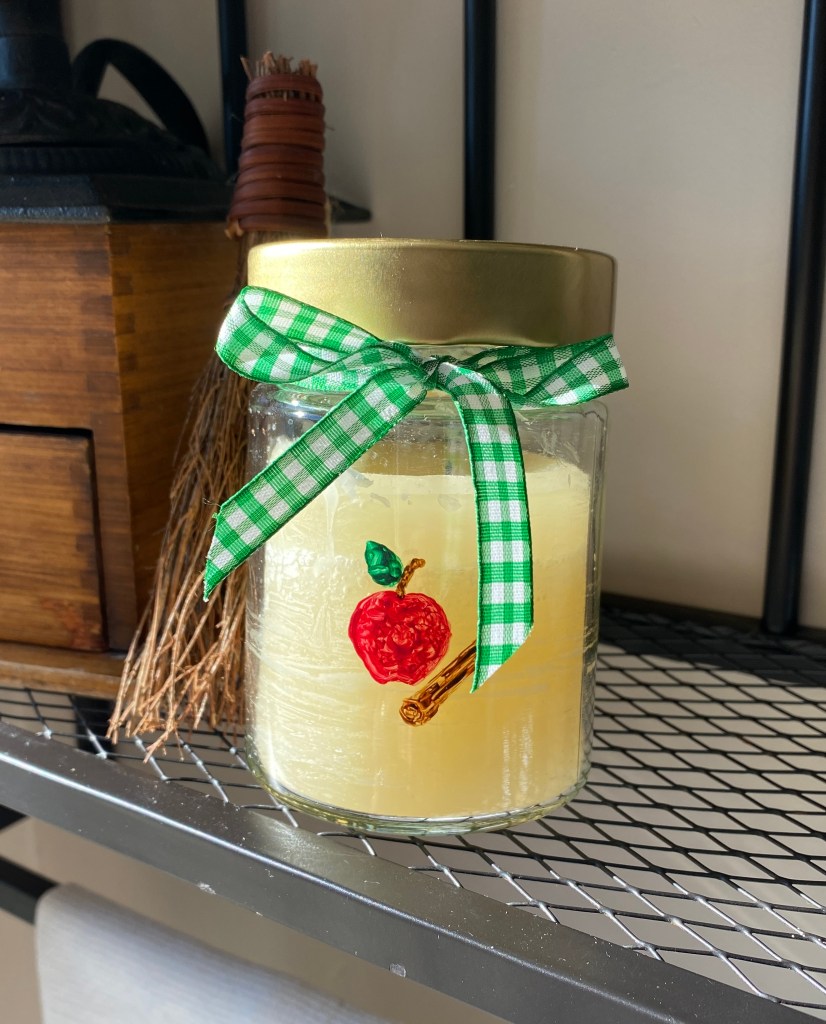
It’s fall again! That means it’s time for candles again, too. But, what do you do if your favorite scented candle is burning incorrectly?
First, make sure when you light your candles, you are allowing them to burn long enough so that the entire top layer melts. If you don’t, the candle will “tunnel”, which simply means it will burn only in the center all the way to the bottom, creating a “tunnel” effect.
That being said, sometimes, for unknown reasons, tunneling occurs no matter how careful you are. Can you still save your candle? Yes, you can! Simply follow these easy instructions and you’ll be basking in the glow of your newly shaped candle in no time:
What you’ll need:
- Aluminum foil
- A medium-sized saucepan
- Some water
- 1 Popsicle stick or a disposable chopstick
- 1 Plastic /disposable knife
- 1 Candle wick (you can find them on Amazon)
- 2 clean, empty glass jars
What to do:
- Place the entire candle (or, if you can break it up, candle pieces*) into one of the glass jars.*If you’re candle has not burned all the way to the bottom, you can make the melt-down process easier by doing the following:
- Light the candle.
- Carefully wrap the sides of the candle in aluminum foil, leaving a small opening at the top so the candle will continue to burn (it needs oxygen to do so).
- The aluminum foil serves to trap heat which will soften the sides of the candle. When the wax is very soft, you can use a plastic knife to cut it into pieces, which will melt much quicker and easier in the saucepan.
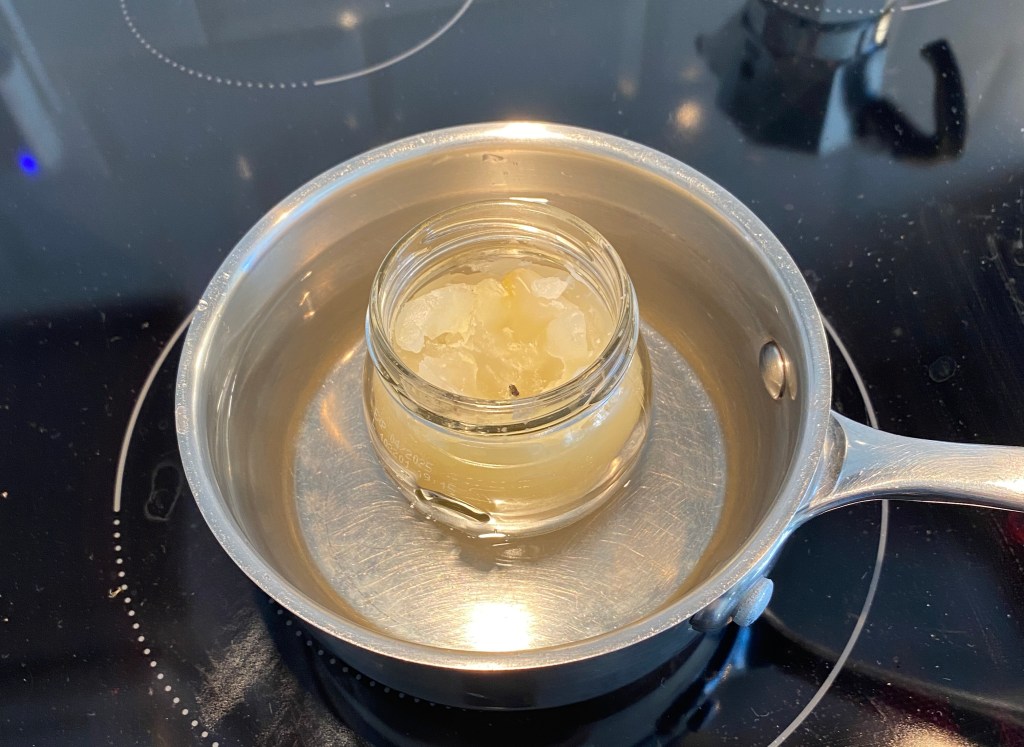
- Set the jar in the middle of the saucepan and fill the saucepan with water, making sure to keep the water level one inch below the glass jar so as not to get any water in the jar itself.
- Put the heat on the lowest setting to start melting the wax. Be careful! Heating too quickly can cause the glass to crack! Raise the temp slowly, if needed, to melt the wax completely.****To clean the jar you used to melt the wax, you can heat it with a blow dryer (after you’ve completed the project) and wipe the inside down with paper towels until you get all of the wax off. Be sure not to burn yourself…The glass can get very hot!
- As the candle melts, carefully stir it with the popsicle stick or the chopstick, making sure to keep the wax in the jar. When old wick becomes loose, carefully remove it from the melted wax using the popsicle stick or even better, chopsticks.
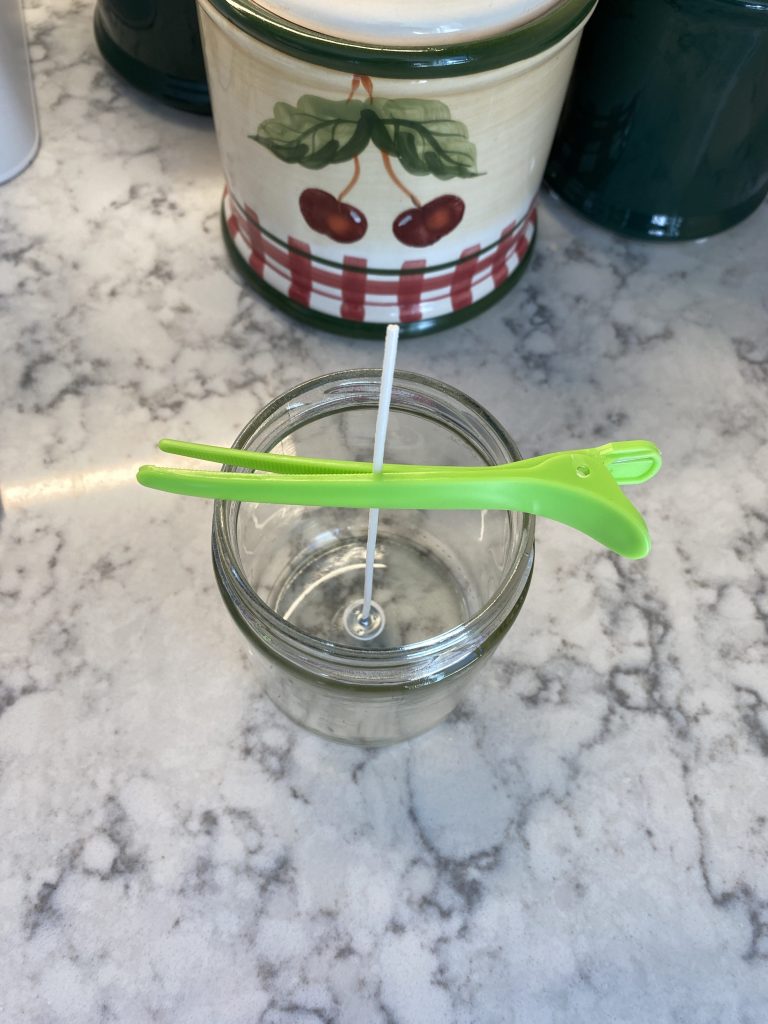
5. In the second glass jar, secure your wick following the instructions on the wick’s packaging.
6. One the wax has melted in the jar on the stove, use an oven mitt to lift it out of the saucepan and pour the wax into the second glass jar, making sure to keep the wick in that jar straight.
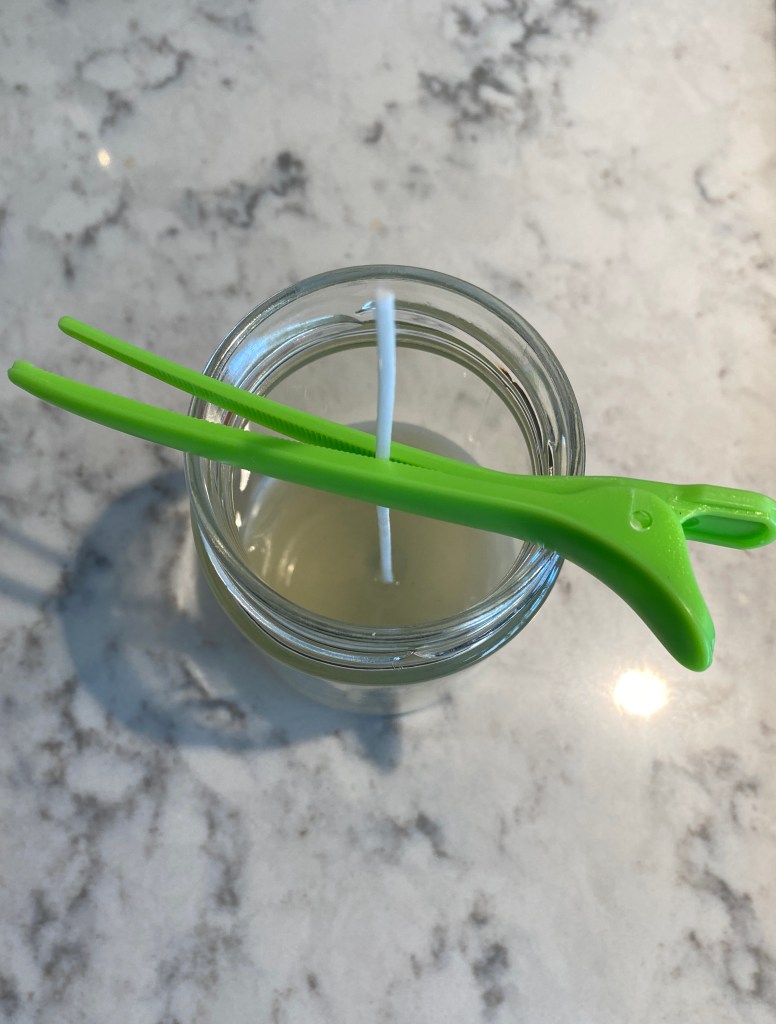
7. Allow the wax to cool completely and trim the wick before lighting.
8. Adorn the jar with a ribbon, sticker, or paint on an image (see my photo below) and you’re all set!
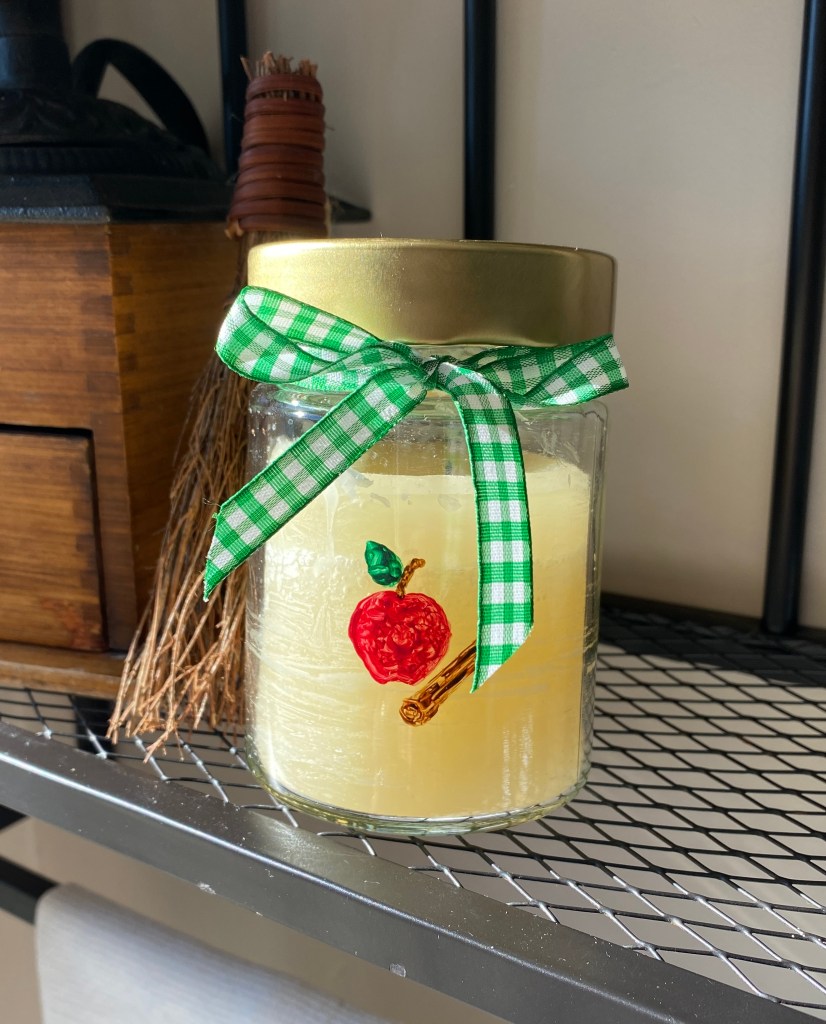
I hope this tutorial helps you make the most of your candle collection. May all of your candles burn bright (and evenly)!
Happy fall!


